Why Is My Air Conditioner Dripping Water
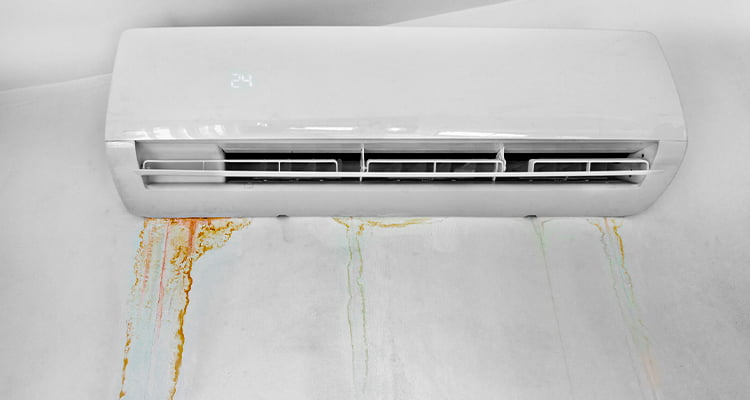
One of the most common, and concerning, issues homeowners face during the hot summer months is a dripping air conditioner. Not only is it annoying, but it can also signal a bigger problem lurking within your HVAC system. Water accumulating where it shouldn’t be can lead to mold growth, structural damage, and inefficient cooling. But don't panic! Often, the cause is something you can easily diagnose and potentially fix yourself. This article will walk you through a methodical troubleshooting process to identify why your AC is dripping water and what you can do about it.
Diagnosis: Is Your AC Dripping? Let's Investigate!
Before we start tearing things apart, let's get a clear picture of the situation. Where is the water dripping from? This is crucial for pinpointing the source of the problem. Is it:
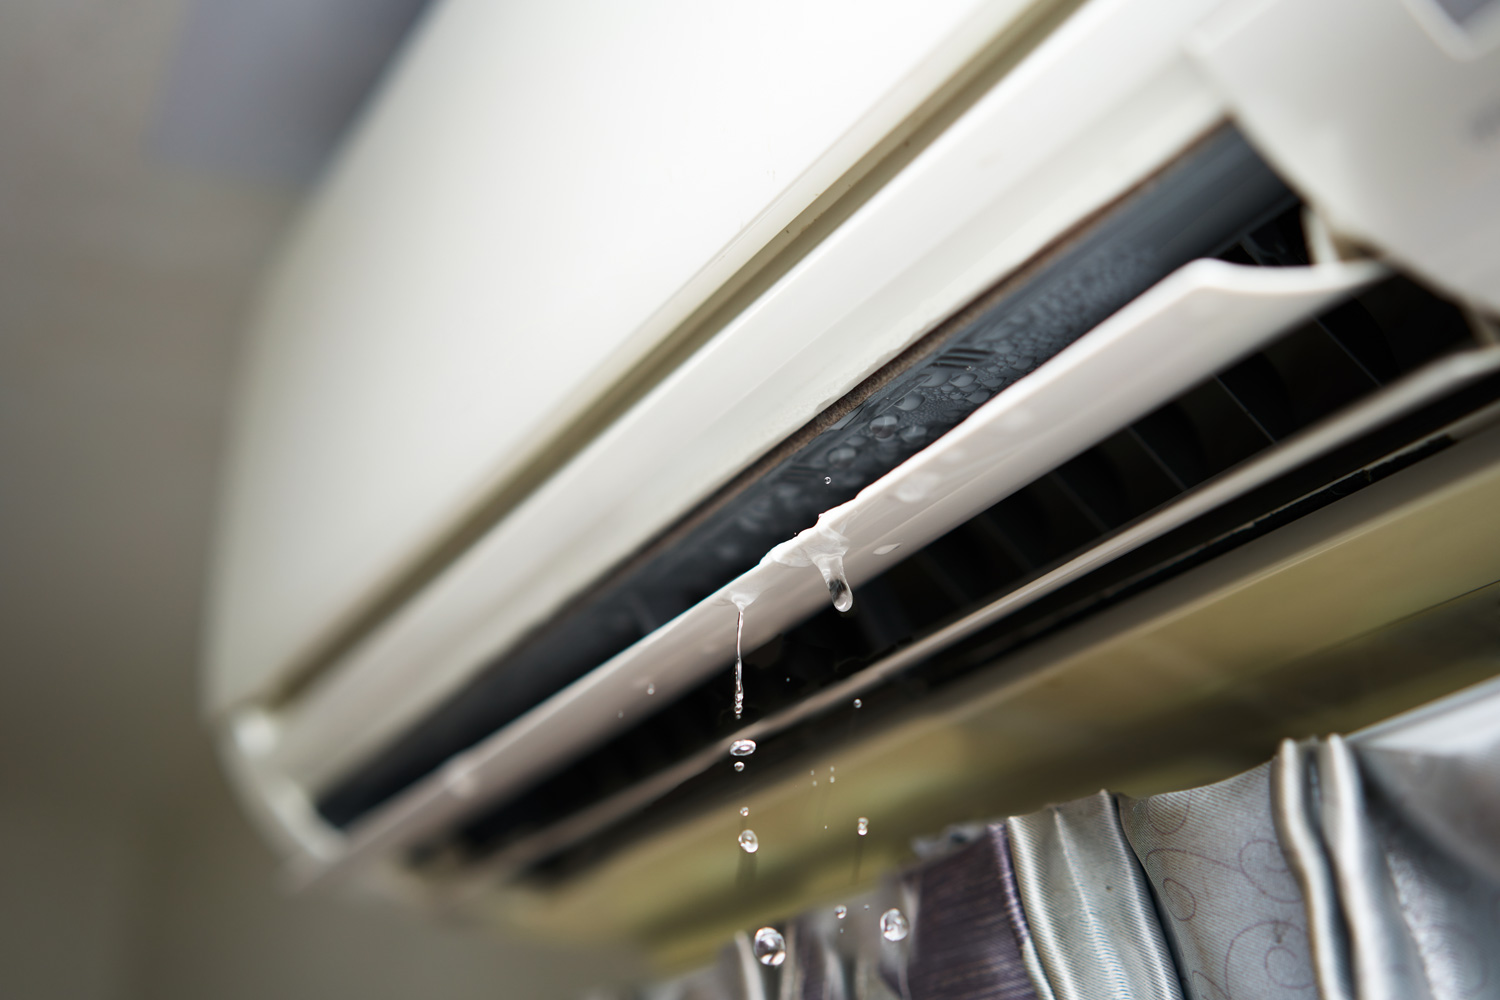
- Indoor Unit: Dripping from the air handler inside your home?
- Outdoor Unit: Dripping from the condenser unit outside?
- Drain Line: Dripping excessively from the drain line outlet?
Once you've identified the location of the dripping, we can move on to a more detailed diagnosis.
Step 1: Safety First!
Before you begin any troubleshooting, turn off the power to your air conditioner at the breaker box. This is a critical safety precaution to prevent electrical shock. Better safe than sorry!
Step 2: Check the Air Filter (No Tools Required)
A dirty air filter is a prime suspect when your AC is dripping. When the filter is clogged with dust and debris, it restricts airflow. This restriction can cause the evaporator coil (the part that cools the air) to get too cold and ice over. As the ice melts, it overflows the drain pan, leading to drips.
Action:
- Locate your air filter (usually inside the indoor unit or in a wall/ceiling vent).
- Remove the filter and visually inspect it. Is it visibly dirty and clogged?
- If so, replace it with a new filter of the correct size and type.
Note: Regularly replacing your air filter (every 1-3 months) is a simple maintenance task that can prevent many AC problems and improve energy efficiency.
Step 3: Inspect the Drain Pan (No Tools Required Initially)
The drain pan sits beneath the evaporator coil and collects condensation. If the drain pan is cracked, rusted, or overflowing, it's obviously going to cause dripping.
Action:
- Locate the drain pan inside your indoor unit. You may need a flashlight to see it clearly.
- Visually inspect the pan for cracks, rust, or standing water.
- If the pan is overflowing, that points to a clogged drain line (covered in the next step).
- If the pan is cracked or rusted, it will need to be replaced. This may be a job for a professional, especially if it's difficult to access.
Important: Be careful when inspecting the drain pan. It may be sharp edges or mold present.
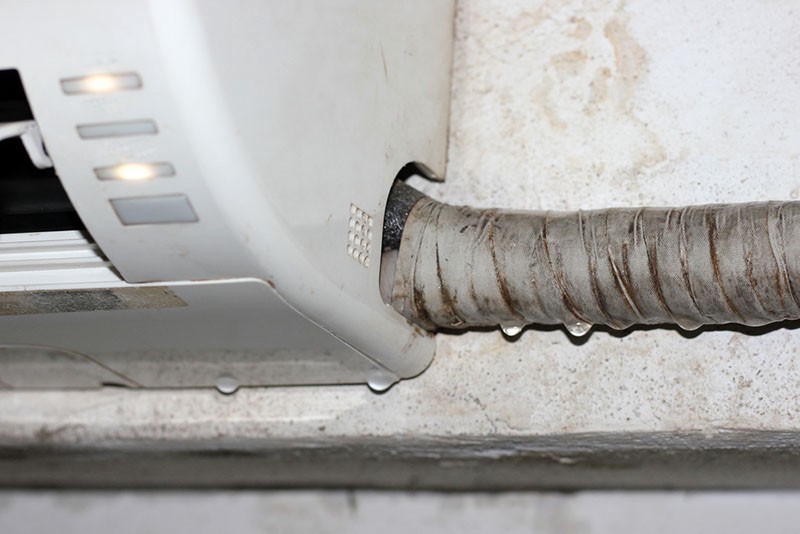
Step 4: Check the Condensate Drain Line (May Require Simple Tools)
The condensate drain line is a pipe that carries water away from the drain pan. A clogged drain line is a very common cause of AC dripping. Algae, mold, and other debris can build up inside the line, blocking the flow of water.
Action (Without Tools):
- Locate the drain line outlet. It's usually a PVC pipe sticking out near your outdoor unit or somewhere along the exterior wall of your house.
- Check for any obvious obstructions at the outlet. Can you see any debris blocking the opening?
Action (With Simple Tools):
- Wet/Dry Vacuum: This is the most effective DIY method. Attach the vacuum hose to the drain line outlet and use the vacuum to suck out any clogs. You may need to seal the connection with duct tape to create a good seal. Do this in short bursts to avoid damaging the line.
- Stiff Wire or Pipe Cleaner: Carefully insert a stiff wire (like a coat hanger) or a pipe cleaner into the drain line outlet to try to break up any clogs. Be gentle to avoid pushing the clog further in.
- Pouring Vinegar: Pour a cup of white vinegar down the drain line. Vinegar can help dissolve algae and mold. Let it sit for 30 minutes, then flush with water.
Caution: Be careful when using a wet/dry vacuum. Do not suck water back into the vacuum motor. Wear gloves when handling drain lines as they can contain mold and bacteria.
Step 5: Examine the Evaporator Coil (Requires Some Disassembly – Proceed with Caution)
A frozen evaporator coil, as mentioned earlier, can cause dripping as the ice melts. This can be caused by a dirty air filter, but it can also be caused by other issues like low refrigerant.
Action:
- Before proceeding, ensure the power is OFF at the breaker!
- Access the evaporator coil. This usually involves removing an access panel on your indoor unit. The location varies depending on the model. Consult your AC unit's manual for specific instructions.
- Visually inspect the evaporator coil. Is it covered in ice? If so, that's your problem.
- If the coil is iced, turn off the AC and let the ice melt completely. This could take several hours. You can use a fan to speed up the process.
- Once the ice is melted, turn the AC back on and monitor it. If the coil freezes up again, there's likely a more serious problem (like low refrigerant) that requires professional attention.
Warning: Working with the evaporator coil involves removing access panels and potentially exposing electrical components. If you are not comfortable with this, do not proceed. Contact a qualified HVAC technician.
Step 6: Check the Outdoor Condenser Unit (No Tools Required – Visual Inspection Only)
While less common, issues with the outdoor condenser unit can sometimes contribute to dripping problems. The condenser unit is responsible for releasing heat from the refrigerant. If it's not functioning properly, it can affect the overall cooling process and potentially lead to condensation issues.
Action:
- Visually inspect the condenser unit. Is it clean and free of debris?
- Make sure the fan blades are not obstructed by anything.
- Are there any signs of damage or leaks?
Important: Never attempt to clean or repair the condenser unit while it's running. If you notice any significant damage or suspect a refrigerant leak, contact a professional HVAC technician immediately.
When to Call a Professional HVAC Technician
While many AC dripping problems can be resolved with simple DIY solutions, some issues require the expertise of a qualified HVAC technician. Call a professional if:
- You suspect a refrigerant leak. Refrigerant is a hazardous substance, and handling it requires specialized equipment and training. Signs of a refrigerant leak include poor cooling performance, hissing sounds, and oily residue near the refrigerant lines.
- The evaporator coil freezes up repeatedly after you've defrosted it. This indicates an underlying problem that needs professional diagnosis and repair.
- You suspect a problem with the compressor. The compressor is the heart of your AC system, and repairs are complex and require specialized knowledge.
- You are not comfortable working with electrical components or disassembling your AC unit.
- You have a complex or unusual AC system (e.g., a multi-zone system or a system with advanced features).
- You are unable to locate the source of the dripping or have tried the DIY solutions above without success.
- The drain pan is heavily rusted or in a difficult-to-reach location making the job hard.
Attempting to fix complex HVAC problems without the proper knowledge and tools can be dangerous and may even void your warranty. It's always best to err on the side of caution and call a professional when in doubt.
Preventative Maintenance: Keeping Your AC Dripping-Free
The best way to avoid AC dripping problems is to perform regular preventative maintenance. Here are a few simple steps you can take:
- Replace your air filter regularly (every 1-3 months).
- Periodically flush the condensate drain line with vinegar.
- Keep the outdoor condenser unit clean and free of debris.
- Schedule annual AC tune-ups with a qualified HVAC technician.
By following these simple tips, you can keep your AC running smoothly and efficiently, and avoid the frustration of dealing with dripping water. Remember, regular maintenance is an investment that can save you money and headaches in the long run. And if you do encounter a problem you can't handle, don't hesitate to call a professional for help. With a little knowledge and proactive care, you can keep your cool all summer long!