Why Is My Ecobee Not Cooling

Why Is My Ecobee Not Cooling? A Homeowner's Troubleshooting Guide
An Ecobee smart thermostat can be a fantastic addition to any home, offering convenience and energy savings. However, like any electronic device controlling a complex system, it can sometimes encounter issues. One of the most frustrating is when your Ecobee isn't cooling your home as expected. This guide will walk you through common causes and troubleshooting steps, helping you determine if it's a simple fix or time to call a professional.
Preliminary Checks: The Obvious Things First
Before diving into deeper troubleshooting, let's rule out some basic errors:
- Thermostat Setting: Ensure the Ecobee is set to "Cool" mode. It sounds simple, but accidental changes happen.
- Set Temperature: Verify the set temperature is lower than the current room temperature. The system won't activate if the set point is too high.
- Fan Setting: Confirm the fan is set to "Auto." If it's set to "On," the fan will run continuously, potentially masking a cooling issue.
- Air Filter: A clogged air filter restricts airflow, reducing cooling efficiency. Check and replace your air filter if it's dirty. This is a crucial maintenance step for any HVAC system.
- Breaker Panel: Check the breaker for your HVAC system. A tripped breaker will cut power to the outdoor unit. Reset the breaker if necessary.
If these simple checks don't solve the problem, move on to the more involved troubleshooting steps below.
Diving Deeper: Ecobee Specific Issues
Ecobee thermostats, like other smart thermostats, have unique features and settings that can sometimes cause cooling problems. Consider these points:
1. Wiring Issues
Incorrect wiring is a common culprit, especially after a new installation. Double-check the wiring connections at both the Ecobee thermostat and the HVAC control board. Refer to your Ecobee's wiring diagram and the HVAC system's documentation.
Tools Needed:
- Screwdriver set
- Multimeter (for testing voltage – Safety Warning: Only use if comfortable and experienced with electrical work. Otherwise, call a professional.)
- Wiring diagram (Ecobee and HVAC system)
Common Wiring Problems:
- Loose connections: Ensure all wires are securely connected to their respective terminals.
- Incorrect wiring: Wires connected to the wrong terminals can prevent proper operation.
- Damaged wires: Look for frayed or broken wires. Replace any damaged wires.
- C-wire issues: Some older systems may not have a C-wire (common wire), which is often required for smart thermostats. An Ecobee *Power Extender Kit (PEK)* might be necessary.
Important Safety Tip: Always turn off the power to the HVAC system at the breaker panel before working on the wiring.
2. Ecobee Settings and Schedules
Incorrectly configured settings or schedules can also cause cooling problems.
- Smart Recovery: This feature learns how long it takes to cool your home and starts cooling earlier to reach your desired temperature. If configured incorrectly, it might not be working as expected. Try disabling it temporarily to see if it resolves the issue.
- Temperature Sensors: If you have multiple Ecobee sensors, the thermostat might be using the temperature from a different room than the one you're in. Check which sensor is being used for temperature readings.
- Hold Settings: A persistent "Hold" setting might be overriding your regular schedule. Clear any active holds to resume your programmed settings.
- Schedule Conflicts: Review your schedule to ensure there are no conflicting temperature settings or time periods.
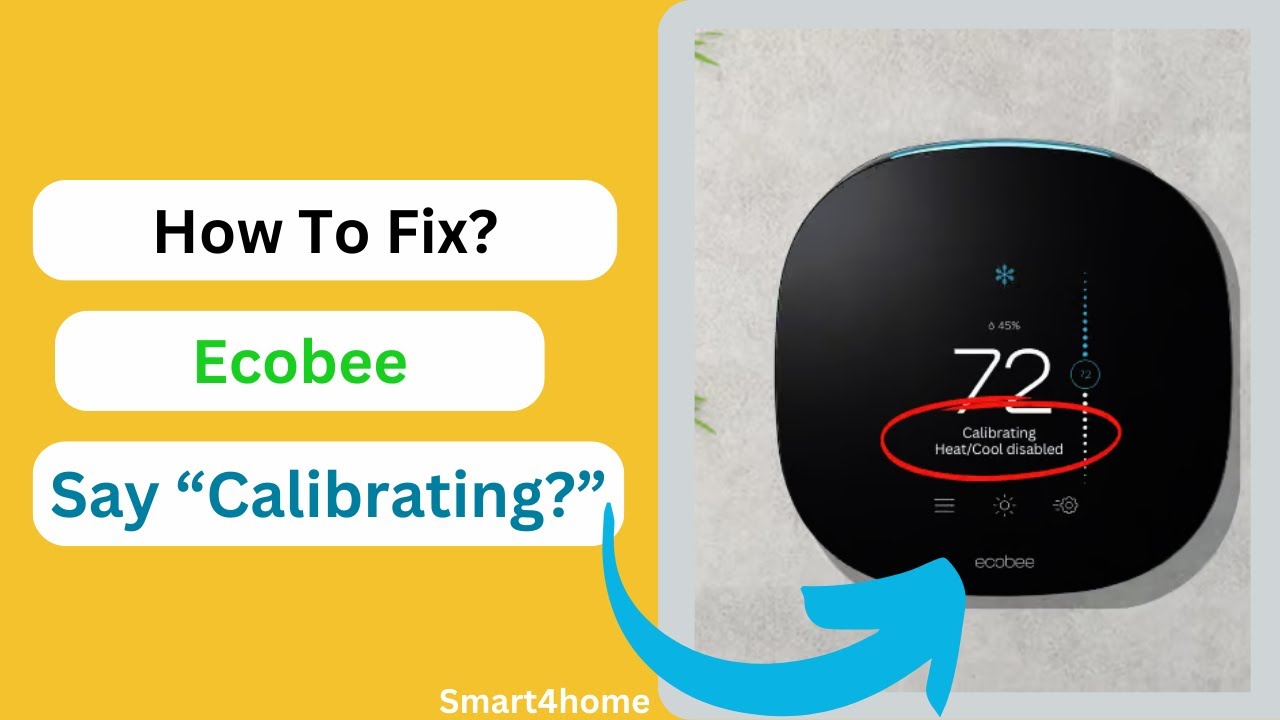
3. Thermostat Calibration
Very rarely, but possibly, the thermostat could be calibrated incorrectly. Check the current temperature in your house with a thermometer and verify that the Ecobee is showing the correct temperature. Calibrate it in the settings if necessary.
HVAC System Issues: Beyond the Thermostat
If you've ruled out thermostat-related problems, the issue might lie with your HVAC system itself. These issues require more technical expertise.
1. Refrigerant Leaks
Low refrigerant levels significantly reduce cooling capacity. Refrigerant leaks are often difficult to detect without specialized equipment.
Signs of a Refrigerant Leak:
- Weak airflow from vents
- Ice buildup on the evaporator coil (indoor unit)
- Hissing sound near the HVAC unit
Professional Help Required: Refrigerant handling requires EPA certification. Contact a qualified HVAC technician to diagnose and repair refrigerant leaks.
2. Compressor Problems
The compressor is the heart of the cooling system. A failing compressor will prevent the system from cooling effectively.
Signs of a Compressor Problem:
- Loud or unusual noises from the outdoor unit
- The fan runs, but the compressor doesn't engage
- The breaker trips repeatedly
Professional Help Required: Compressor repairs are complex and often expensive. A qualified HVAC technician is needed to diagnose and repair or replace the compressor.
3. Condenser Fan Issues
The condenser fan dissipates heat from the outdoor unit. If the fan is not working, the system will overheat and shut down.
Troubleshooting Steps:
- Check for obstructions: Ensure the fan blades are free of debris (leaves, branches, etc.).
- Check the capacitor: The capacitor provides the initial energy to start the fan motor. A failing capacitor is a common cause of fan motor failure. Safety Warning: Capacitors can store a dangerous electrical charge even when the unit is off. Discharge the capacitor with a screwdriver before handling. If you are not comfortable doing this, call a professional.
- Test the fan motor: Use a multimeter to test the fan motor for continuity.
Parts Needed:
- Capacitor (matching the specifications of the original)
- Condenser fan motor (if the motor is faulty)
Professional Help: While replacing a capacitor or fan motor is a DIY-able repair for some, it can be dangerous. Call a technician if you're uncomfortable working with electrical components.
4. Ductwork Problems
Leaky or poorly insulated ductwork can waste a significant amount of cooling energy. Damaged ductwork can also prevent air from reaching certain parts of your home.
Troubleshooting Steps:
- Visually inspect ducts: Look for obvious leaks or damage, especially in accessible areas like attics or crawl spaces.
- Feel for air leaks: Run your hand along duct seams to check for escaping air.
DIY Solutions:
- Seal small leaks with duct tape or mastic sealant.
- Insulate exposed ducts with fiberglass or foil-faced insulation.
Professional Help: Significant ductwork repairs or redesigns should be handled by a qualified HVAC contractor.
Estimating Repair Costs
Repair costs can vary significantly depending on the issue and your location. Here's a rough estimate:
- Air Filter Replacement: $10-$30 (DIY)
- Capacitor Replacement: $50-$200 (DIY or professional)
- Condenser Fan Motor Replacement: $150-$500 (DIY or professional)
- Refrigerant Recharge: $200-$800 (professional only)
- Compressor Replacement: $1,000-$3,000 (professional only)
- Ductwork Repair: $100-$1,000+ (DIY or professional, depending on complexity)
- Ecobee Power Extender Kit Installation: $100-$300 (DIY or professional)
These are just estimates. Always get a quote from a licensed HVAC technician before proceeding with any major repairs.
When to Call a Professional
While this guide provides troubleshooting steps, some issues require professional attention. Call a qualified HVAC technician if:
- You're uncomfortable working with electrical components.
- You suspect a refrigerant leak.
- The compressor is making unusual noises or not running.
- You've tried the troubleshooting steps and the system still isn't cooling.
- The problem is complex and beyond your DIY capabilities.
Remember, attempting complex repairs without the proper knowledge and equipment can be dangerous and potentially damage your HVAC system further.
Final Thoughts
Troubleshooting an Ecobee not cooling can be frustrating, but by following these steps, you can often identify and resolve the issue. Remember to prioritize safety and don't hesitate to call a professional when needed. Regular maintenance, like changing your air filter, can prevent many cooling problems in the first place. By taking a proactive approach, you can keep your home comfortable and your energy bills low.