Why Is My Life Breath Not Pulling Air From Bathroom
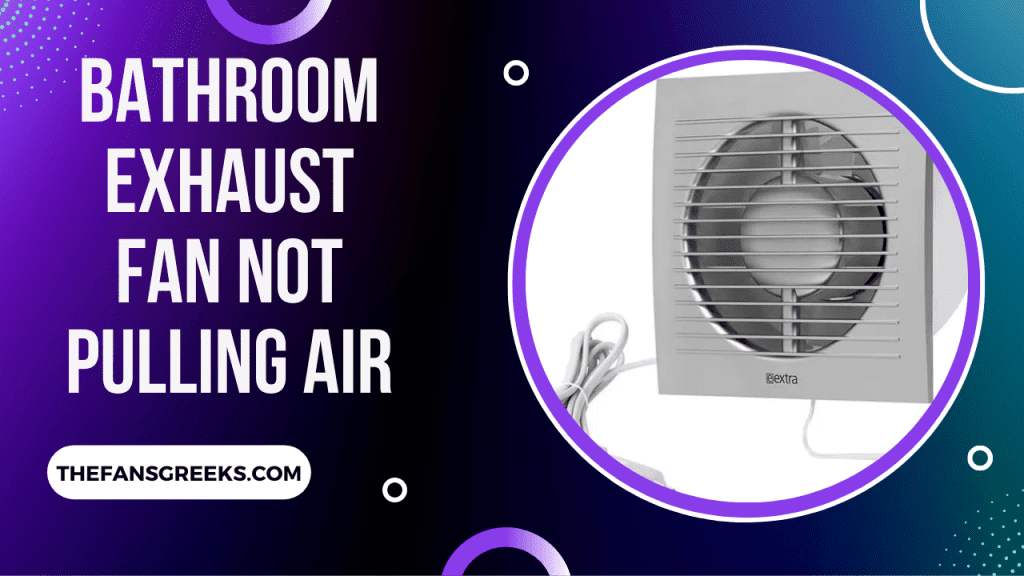
Many homeowners experience a frustrating issue: their bathroom exhaust fan, sometimes referred to as a "Life Breath" (although Life Breath is a specific brand, we'll use it generically here), simply isn't pulling air as effectively as it should. This can lead to lingering odors, excessive moisture, and even mold growth. Don't panic! Before calling a professional, let's walk through some troubleshooting steps to identify and potentially fix the problem yourself.
Step 1: The Initial Check - Is It Even On?
This may seem obvious, but start with the basics. Ensure the exhaust fan switch is in the "on" position. Double-check that the circuit breaker controlling the bathroom is flipped to the "on" position in your electrical panel. A tripped breaker is a common cause of a non-functioning fan.
How to check the breaker:
- Locate your electrical panel.
- Identify the breaker labeled "Bathroom" or similar.
- If the breaker is in the middle position (tripped), flip it fully off and then back on.
- Test the fan.
If the fan still isn't working after this, proceed to the next step.
Step 2: The Paper Test - Assessing Airflow (or Lack Thereof)
This is a simple and effective way to gauge the fan's actual pulling power. Here's how:
- Turn on the exhaust fan.
- Hold a single sheet of toilet paper or a thin paper towel directly beneath the fan.
- Observe what happens.
What the results mean:
- Paper Sticks Firmly: This indicates the fan is pulling air adequately. The issue might lie elsewhere, such as a blocked vent or a ventilation problem outside the bathroom.
- Paper Sticks Weakly: The fan is pulling *some* air, but not enough. This suggests a partial blockage or a weak motor.
- Paper Doesn't Stick At All: The fan isn't pulling any air. This points to a major blockage, a faulty motor, or a disconnected duct.
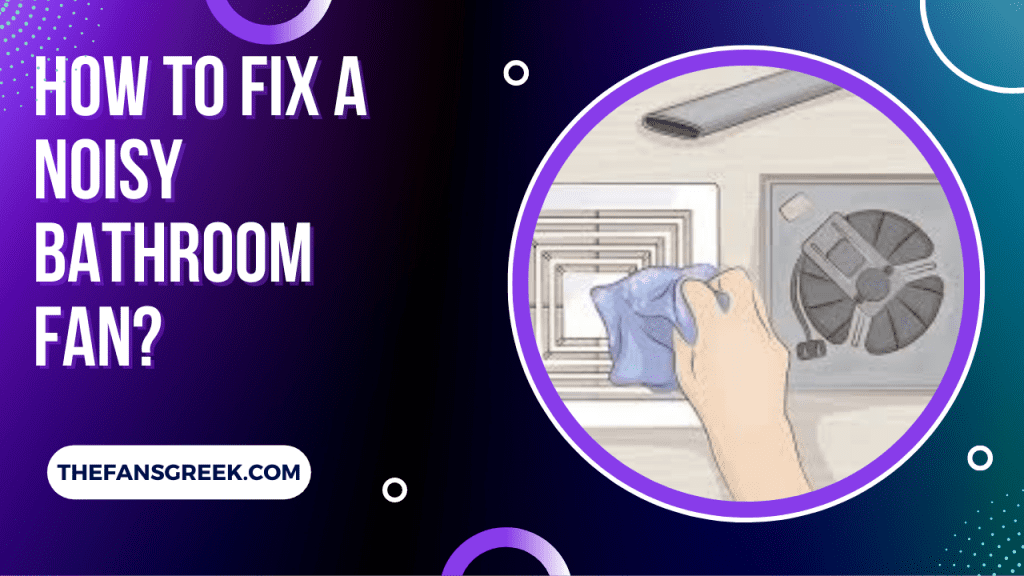
Step 3: Cleaning the Fan - Dust Bunnies Beware!
A buildup of dust and debris is a very common cause of reduced airflow. This is a simple DIY fix that often yields significant improvements.
Safety First! Before you begin cleaning, turn off the power to the fan at the circuit breaker. This is crucial to prevent electric shock.
Cleaning process:
- Remove the Fan Cover: Most fan covers are held in place by clips or screws. Carefully remove the cover and set it aside.
- Vacuum the Interior: Use a vacuum cleaner with a brush attachment to remove dust and debris from the fan motor, blades, and housing. Pay close attention to the areas around the motor.
- Clean the Fan Blades: Use a soft brush or a damp cloth to clean the fan blades. Be gentle to avoid damaging them. If the blades are heavily soiled, you can use a mild detergent. Ensure they are completely dry before reassembling.
- Clean the Fan Cover: Wash the fan cover with soap and water. Rinse thoroughly and allow it to dry completely.
- Reassemble: Once everything is clean and dry, carefully reattach the fan cover.
- Restore Power: Flip the circuit breaker back on.
- Test: Turn on the fan and perform the paper test again to see if the airflow has improved.
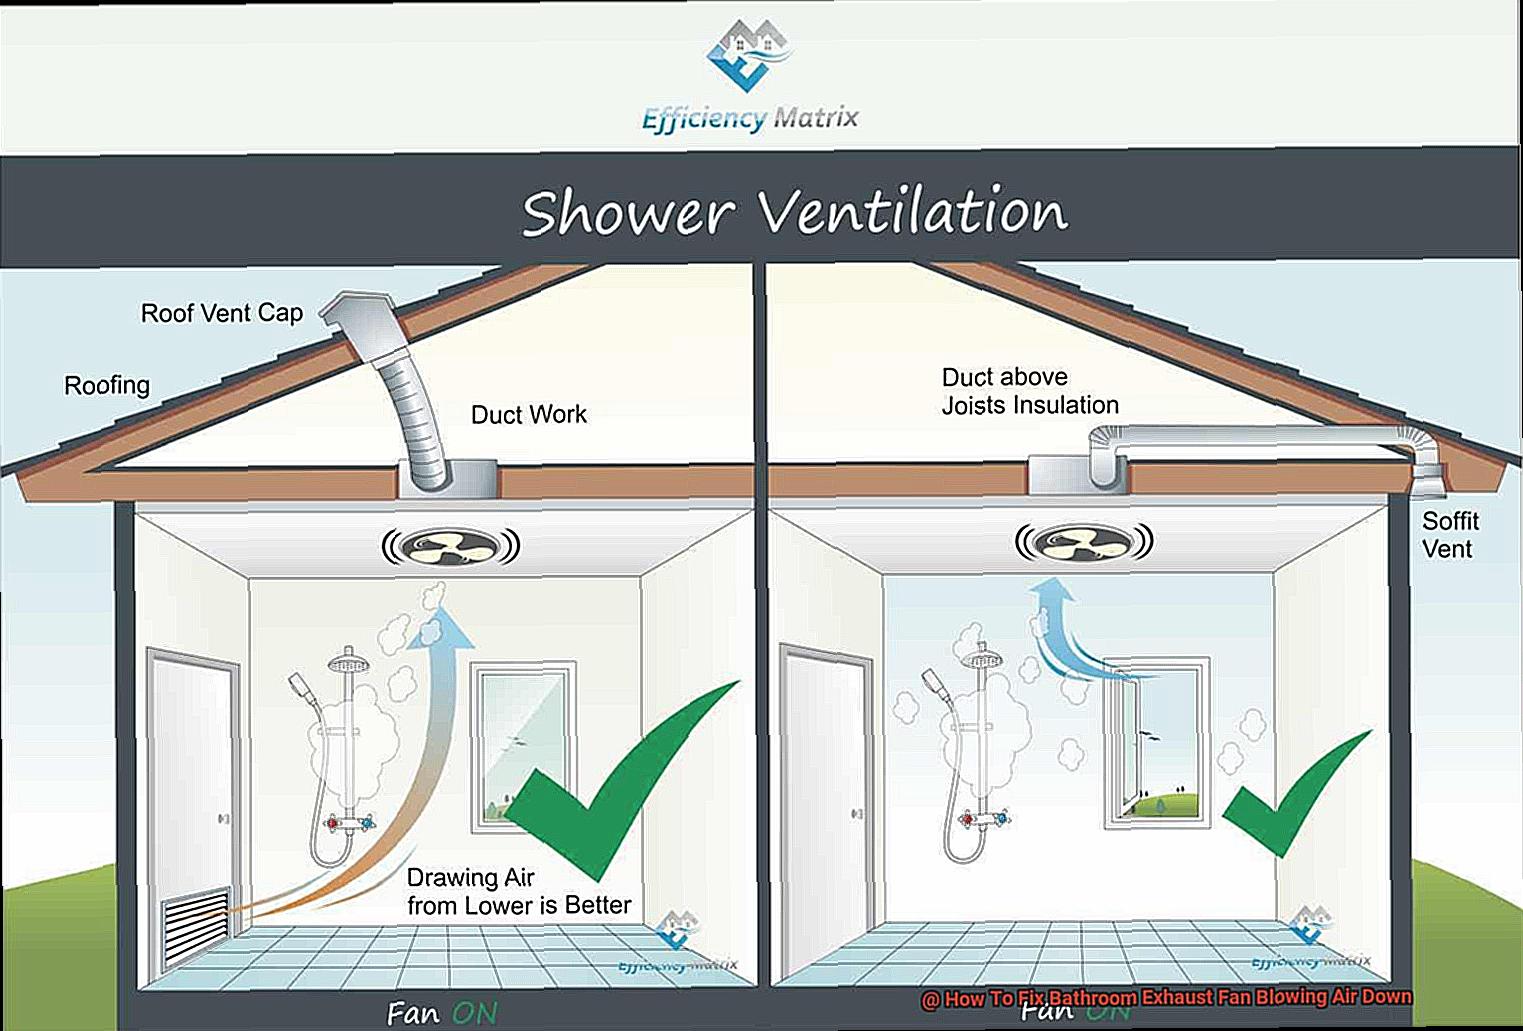
Step 4: Inspecting the Ductwork - Venting is Key
The ductwork is the pathway that carries the moist air from your bathroom to the outside. If it's blocked, crushed, or disconnected, the fan won't be able to do its job.
Locating the Ductwork: The ductwork typically runs from the fan housing, through the attic or crawl space, and vents to the outside. You may need a flashlight and be prepared to navigate potentially dusty or cramped spaces.
Inspection Points:
- Disconnections: Check for any disconnected sections of ductwork. If you find a disconnection, reconnect it securely using duct tape or foil tape (foil tape is generally preferred for its durability and heat resistance).
- Crushed or Kinked Ductwork: Look for any sections of the duct that are crushed or kinked, which can significantly restrict airflow. Straighten or replace these sections. Rigid metal ductwork is less prone to crushing than flexible ductwork.
- Blockages: Check for any obstructions within the ductwork, such as bird nests, insulation, or other debris. You may need to use a flashlight and a flexible inspection tool to see inside the duct.
- Dampness/Mold: Check for any signs of dampness or mold within the ductwork. This indicates a potential leak or condensation problem. Address the source of the moisture to prevent further mold growth.
- Insulation: Ensure the ductwork is properly insulated, especially in unheated spaces like attics. This prevents condensation and improves the fan's efficiency.
Important Note: Working in attics or crawl spaces can be dangerous. Use caution and wear appropriate protective gear, such as a dust mask, gloves, and eye protection.
Step 5: The Exterior Vent - Is It Free and Clear?
The exterior vent is where the air from your bathroom is expelled. If this vent is blocked, the fan will be unable to function properly.
Locating the Exterior Vent: The exterior vent is typically located on the roof, the side of the house, or under the eaves. It may be covered by a louvered vent cap.
Inspection Points:
- Blockages: Check for any blockages, such as bird nests, insect nests, snow, ice, or overgrown vegetation. Remove any obstructions carefully.
- Louvered Vent Cap: Ensure the louvers on the vent cap are free to open and close. They may become stuck due to dirt, debris, or corrosion. Clean the louvers as needed.
- Damaged Vent Cap: Check for any damage to the vent cap, such as cracks or breaks. Replace the vent cap if necessary.
Safety Tip: Use caution when working on a ladder or roof. If you are uncomfortable working at heights, it's best to call a professional.
Step 6: Checking the Backdraft Damper - Preventing Reverse Airflow
The backdraft damper is a one-way valve that prevents outside air from flowing back into your bathroom through the exhaust fan. If it's stuck in the closed position, it will block airflow even if the fan is running.
Locating the Backdraft Damper: The backdraft damper is typically located within the fan housing or in the ductwork near the fan.
Inspection Points:
- Freedom of Movement: Check that the damper flaps are free to open and close easily. They may become stuck due to dirt, debris, or corrosion.
- Cleanliness: Clean the damper flaps with a soft brush or a damp cloth to remove any dirt or debris.
- Damage: Check for any damage to the damper flaps or the damper housing. Replace the damper if necessary.
When to Call a Professional
While many exhaust fan problems can be resolved with simple DIY troubleshooting, there are situations where it's best to call a qualified electrician or HVAC technician. Consider professional help if:
- You are uncomfortable working with electricity. Electrical work can be dangerous, and it's always best to err on the side of caution.
- You suspect a faulty motor. If you've cleaned the fan and inspected the ductwork, and the fan still isn't pulling air, the motor may be failing. Replacing a fan motor can be tricky and may require specialized tools.
- You find damaged wiring. If you see any frayed, cracked, or burned wires, do not attempt to repair them yourself. This is a serious electrical hazard.
- You suspect a complex ductwork problem. If the ductwork is difficult to access or requires extensive repairs, it's best to leave the job to a professional.
- You are unsure about any of the troubleshooting steps. If you're not confident in your ability to diagnose or repair the problem, don't hesitate to call a professional.
Specifically, if you've completed these steps and still have a *paper test* failure, a professional is likely required. Don't continue poking around if you're unsure; your safety and the integrity of your home's ventilation system are paramount.
By following these troubleshooting steps, you can often identify and resolve common exhaust fan problems yourself, saving time and money. Remember to prioritize safety and call a professional when needed. A well-functioning exhaust fan is essential for maintaining a healthy and comfortable bathroom environment.
Final Thoughts
Regular maintenance, such as cleaning the fan every few months, can help prevent problems from developing in the first place. Consider it part of your routine home care, just like changing your furnace filter. A little preventative action can save you from bigger headaches down the road!