Why Is My Portable Ac Unit Leaking Water
A portable air conditioner can be a lifesaver during hot summer months, providing much-needed cool relief in specific rooms. But what happens when your trusty AC unit starts leaking water? It's a common problem that can range from a minor inconvenience to a sign of a more serious issue. This article provides a step-by-step guide to troubleshoot a leaking portable AC unit, helping you identify the cause and potentially fix it yourself while always prioritizing your safety.
Understanding Why Your Portable AC is Leaking
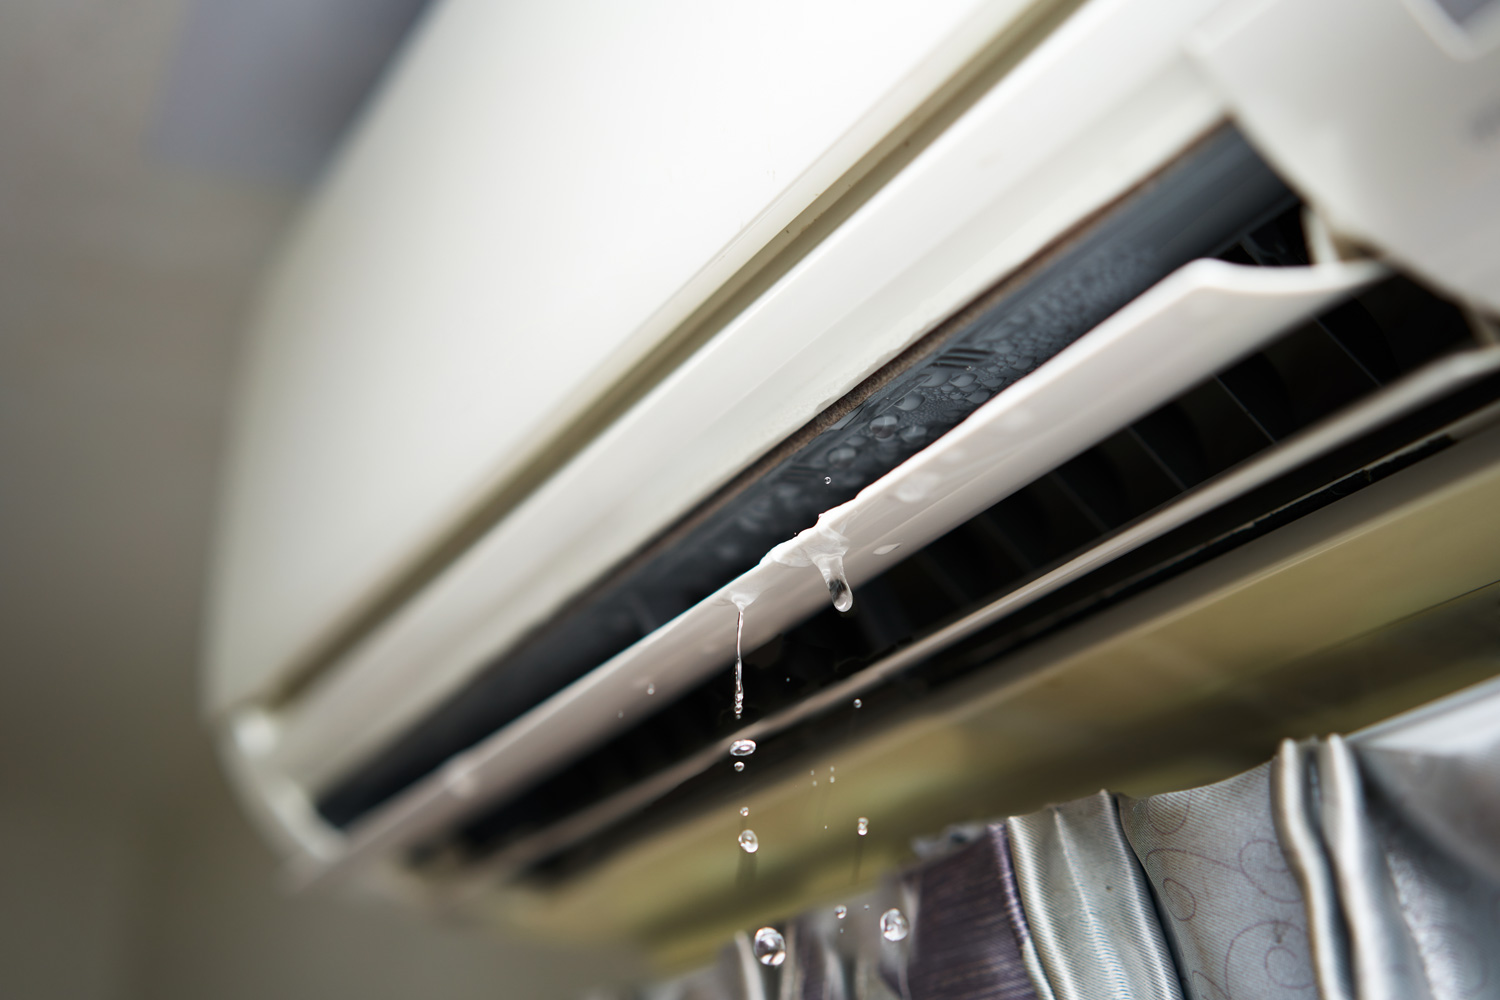
Before diving into troubleshooting, it's helpful to understand *why* portable AC units leak. The process of cooling air involves condensation. The AC unit pulls warm air in, cools it, and releases the cooled air back into the room. This process causes moisture in the air to condense, forming water. This water needs to be managed and properly drained. When this drainage system malfunctions, leaks occur.
Common Causes of Leaking:
- Full Water Tank/Reservoir: Most portable AC units have an internal tank to collect condensed water. If this tank fills up, the unit will leak.
- Clogged Drain Hose: The drain hose carries water from the unit to a drain or collection container. A blockage can cause water to back up and leak.
- Incorrect Hose Installation: If the drain hose isn't properly connected or positioned, water can escape.
- Damaged or Kinked Drain Hose: Cracks or kinks in the hose can lead to leaks.
- High Humidity: Extremely humid conditions can overwhelm the AC unit's drainage system, leading to excessive condensation.
- Internal Damage: In some cases, internal components like the condensate pump (if your unit has one) may be damaged.
- Unit Not Level: An unlevel unit can cause water to pool in areas not designed for drainage, resulting in leaks.
Troubleshooting: A Step-by-Step Guide
Follow these steps in order to systematically diagnose and address the leak in your portable AC unit. *Always disconnect the AC unit from the power outlet before performing any inspection or maintenance.*
Step 1: Safety First!
- Disconnect the Power: Before you begin, unplug the AC unit from the electrical outlet. This is crucial for your safety.
- Protect the Area: Place towels or a bucket under the AC unit to contain the leaking water and prevent damage to your floor.
Step 2: Check the Water Tank/Reservoir
This is the most common cause of leaking, and often the easiest to fix.
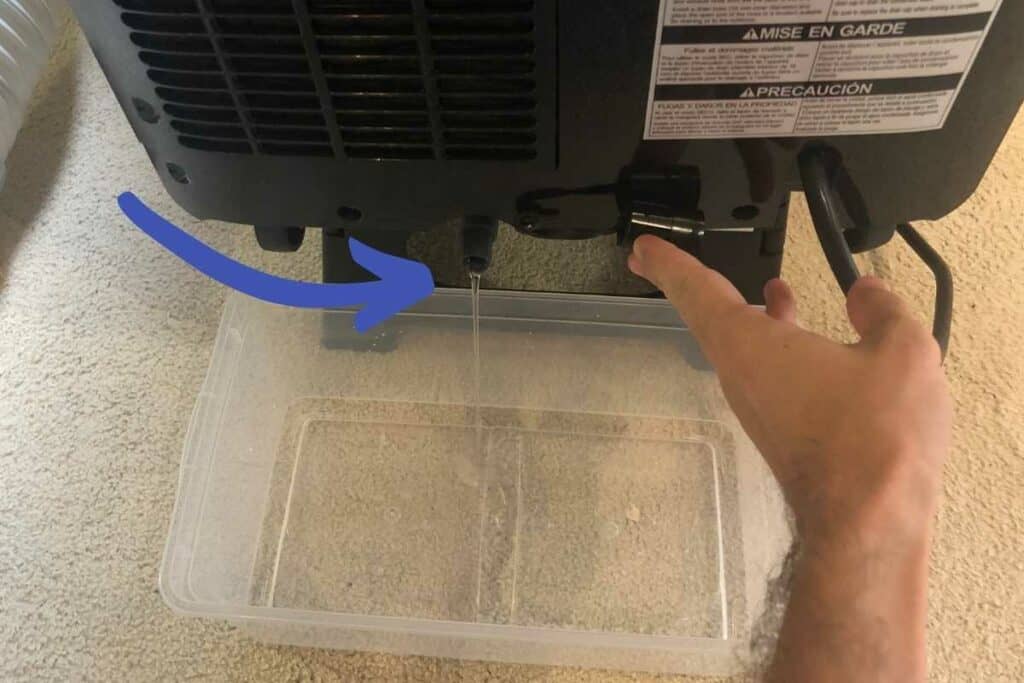
- Locate the Tank: Refer to your AC unit's manual to find the water tank or reservoir. It's usually located at the bottom of the unit.
- Empty the Tank: Carefully remove the tank (if removable) and empty the collected water. Some units have a drain plug you can open to release the water.
- Reinstall the Tank: Ensure the tank is properly reinstalled and securely in place.
- Test: Turn the AC unit back on and monitor it for a few minutes to see if the leaking stops.
Step 3: Inspect the Drain Hose
If the tank isn't full, the next step is to check the drain hose.
- Locate the Hose: Find the drain hose connection on the back or side of the AC unit.
- Check for Kinks: Ensure the hose isn't kinked or bent, as this can restrict water flow. Straighten any kinks you find.
- Inspect for Damage: Look for cracks, holes, or other signs of damage on the hose. If you find any, the hose will need to be replaced.
- Check the Connection: Make sure the hose is securely connected to both the AC unit and the drain or collection container.
- Clear Blockages: Disconnect the hose and inspect it for clogs. You can use a small wire or pipe cleaner to carefully clear any obstructions. A garden hose with low pressure can also be used to flush out the drain line.
- Proper Positioning: Ensure the drain hose is positioned correctly. It should slope downwards to allow gravity to assist with drainage. Avoid creating loops or upward bends in the hose.
- Test: Reconnect the hose, turn the AC unit back on, and observe whether the leaking stops.
Step 4: Level the AC Unit
An uneven surface can cause water to accumulate in areas not designed for drainage.
- Check the Level: Use a level to check if the AC unit is sitting on a flat, even surface.
- Adjust as Needed: If the unit isn't level, use shims or small pieces of wood to raise the lower side until it's level.
- Test: Turn the AC unit back on and monitor for leaks.
Step 5: Check Humidity Levels
High humidity can overwhelm the unit's ability to drain effectively. This is more of a temporary condition than a permanent problem.
- Reduce Humidity (if possible): If possible, try to reduce humidity levels in the room. You can use a dehumidifier in conjunction with the AC unit, or ensure proper ventilation.
- Adjust Settings: Some AC units have different modes or settings for handling humidity. Check your unit's manual for instructions on how to adjust these settings.
- Monitor: Observe if the leaking subsides as humidity levels decrease.
Step 6: Inspect the Air Filter
A clogged air filter can reduce airflow and cause the unit to work harder, potentially leading to increased condensation.
- Locate the Filter: Refer to your AC unit's manual to find the air filter. It's usually located on the back or side of the unit.
- Remove the Filter: Carefully remove the air filter.
- Clean or Replace: If the filter is dirty, clean it with a vacuum cleaner or wash it with mild soap and water (allow it to dry completely before reinstalling). If the filter is damaged, replace it with a new one.
- Reinstall the Filter: Securely reinstall the air filter.
- Test: Turn the AC unit back on and see if the leaking improves.
Step 7: Check the Condensate Pump (If Applicable)
Some portable AC units have a condensate pump to assist with drainage, especially when the drain hose needs to run uphill. If your unit has a pump, it could be the source of the leak.
Important Safety Note: Working with electrical components like a condensate pump can be dangerous. If you're not comfortable working with electricity, it's best to consult a qualified technician.
- Locate the Pump: Refer to your AC unit's manual to find the condensate pump. It's usually located inside the unit, near the water tank.
- Inspect the Pump: Visually inspect the pump for any signs of damage, such as cracks or leaks.
- Check the Power Connection: Ensure the pump is properly connected to its power source.
- Listen for Operation: When the AC unit is running, listen to see if the pump is operating. You should hear a slight humming or buzzing sound. If you don't hear anything, the pump may be faulty.
- Clean the Pump (with caution): Some pumps can be carefully cleaned. Consult your unit's manual for specific instructions. Disconnect the power before attempting to clean the pump.
- Test: If you've cleaned the pump or checked the connections, turn the AC unit back on and monitor for leaks.
- Professional Help: If the condensate pump appears damaged or isn't working, it's best to contact a qualified technician for repair or replacement.
When to Call a Professional
While many leaks can be resolved with the steps above, some issues require professional attention. You should consult a qualified HVAC technician in the following situations:
- Internal Damage: If you suspect internal damage to the AC unit, such as a cracked housing or damaged internal components.
- Refrigerant Leaks: If you suspect a refrigerant leak (you might notice a hissing sound or a lack of cooling), do not attempt to fix it yourself. Refrigerant handling requires specialized equipment and training.
- Electrical Issues: If you notice any electrical issues, such as sparking or burning smells.
- Condensate Pump Problems: As mentioned earlier, if you're uncomfortable working with electrical components or the condensate pump seems faulty, seek professional help.
- Persistent Leaks: If you've tried all the troubleshooting steps and the unit is still leaking, there may be a more complex underlying problem.
Preventive Maintenance Tips
Regular maintenance can help prevent leaks and prolong the life of your portable AC unit:
- Clean the Air Filter Regularly: Clean the air filter every 2-4 weeks, or more often if you live in a dusty environment.
- Empty the Water Tank Regularly: Don't wait until the water tank is completely full before emptying it. Empty it regularly, especially during periods of high humidity.
- Inspect the Drain Hose: Check the drain hose regularly for kinks, cracks, or blockages.
- Store Properly: When storing the AC unit for the off-season, drain all the water, clean the filter, and store it in a dry place.
- Professional Servicing: Consider having your AC unit professionally serviced every few years to ensure it's running efficiently and to identify any potential problems early on.
Final Thoughts
A leaking portable AC unit can be frustrating, but by following these troubleshooting steps, you can often identify and fix the problem yourself. Remember to prioritize your safety by disconnecting the power before performing any maintenance. And don't hesitate to call a professional when the issue is beyond your expertise. With a little care and attention, you can keep your portable AC unit running smoothly and efficiently for years to come, providing cool comfort whenever you need it.