Why Is Water Coming From My Hvac Unit
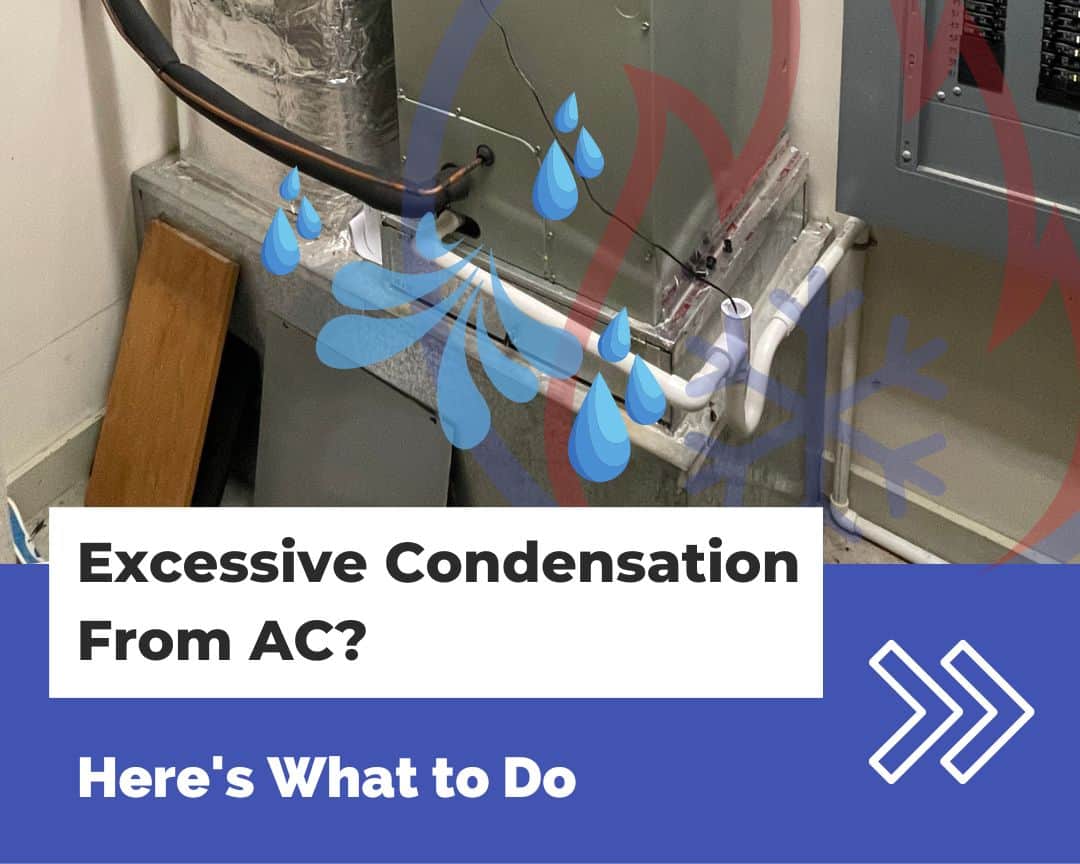
One of the most unsettling discoveries a homeowner can make is finding a puddle of water around their HVAC unit. It can be a sign of a minor inconvenience, or a symptom of a more significant, potentially costly problem. The good news is, you can often diagnose and even fix the issue yourself. This article will walk you through a step-by-step troubleshooting process to help you understand why water is leaking from your HVAC system, and what you can do about it.
Understanding the Why: Common Causes of HVAC Leaks
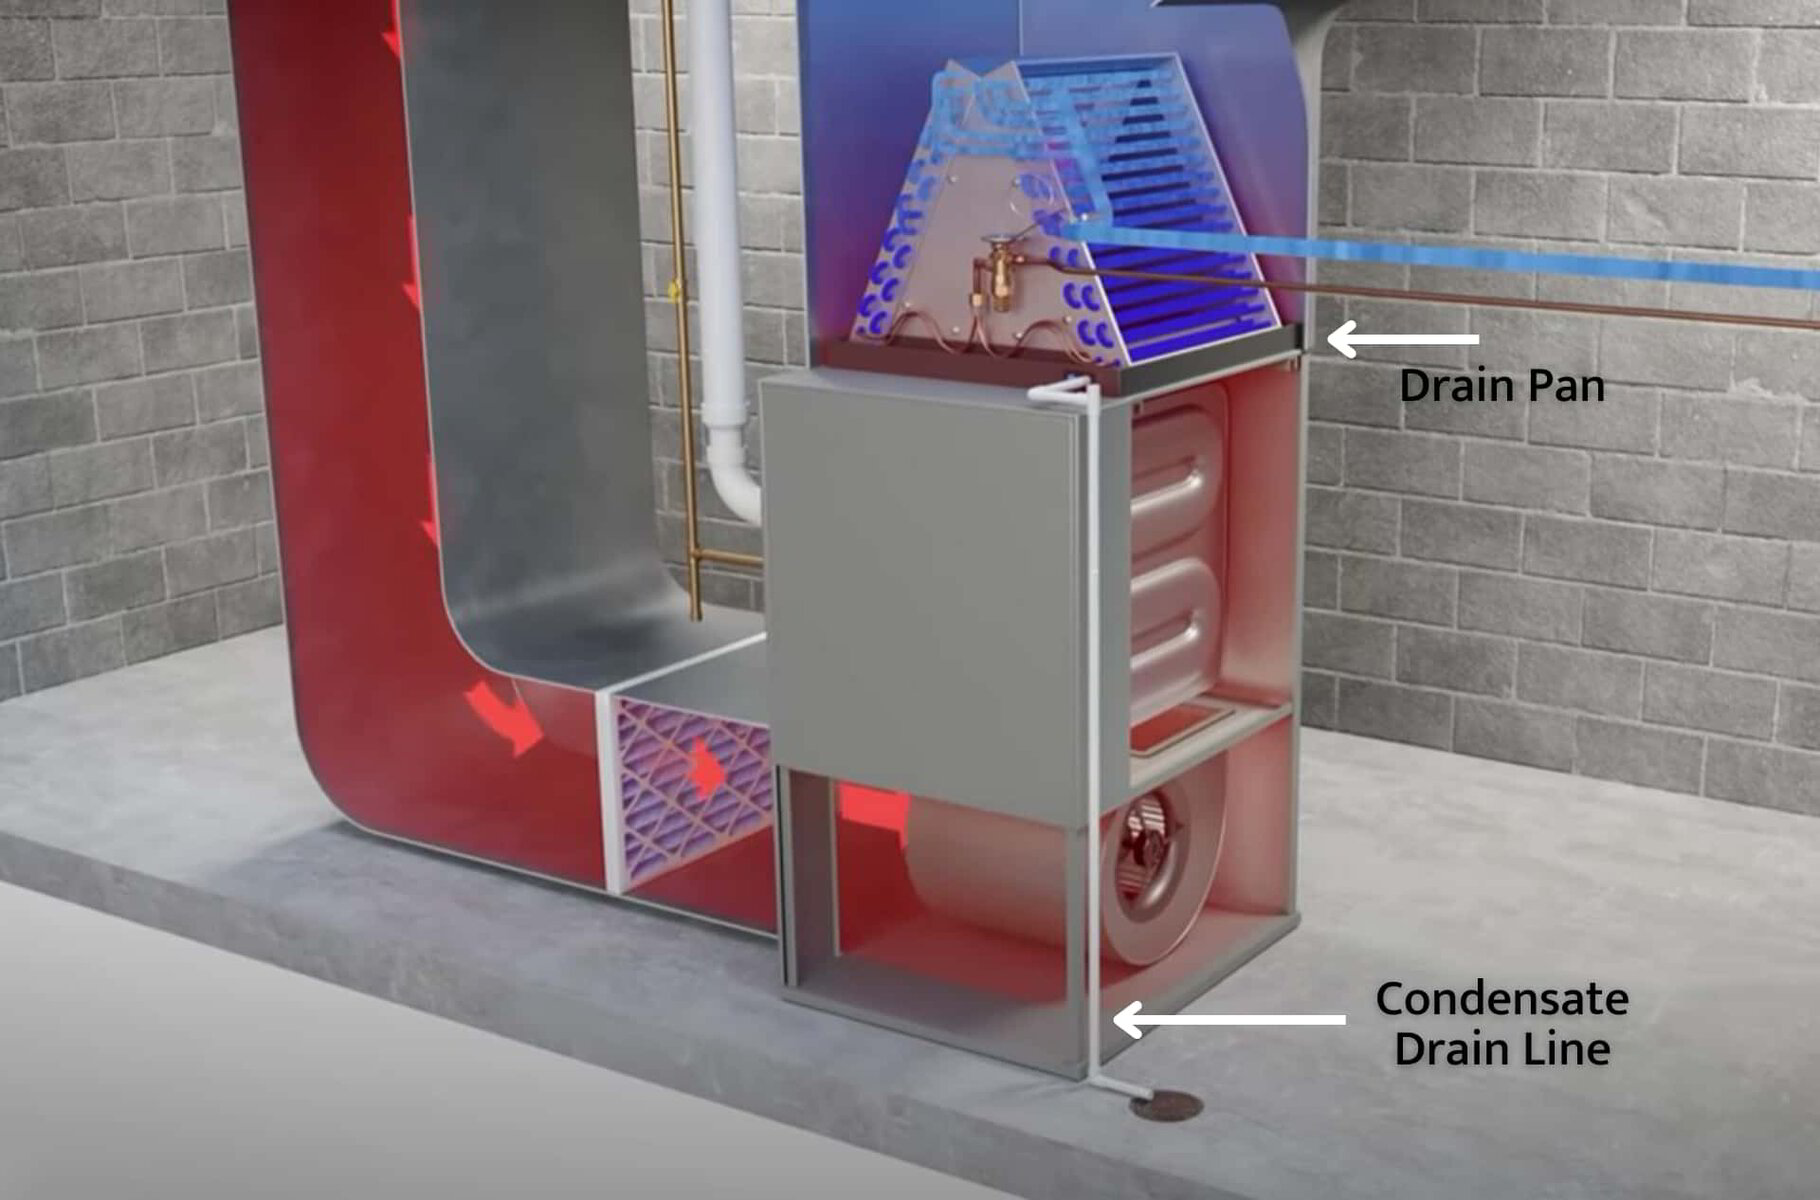
Before we dive into troubleshooting, let's understand the usual suspects. Water leaks from an HVAC unit are almost always related to the condensation process, a byproduct of both cooling and heating (with high-efficiency furnaces). In cooling mode, the evaporator coil gets cold, causing moisture in the air to condense on it. This condensation drips into a drain pan and then flows out through a drain line. Problems arise when this system gets disrupted.
Here's a rundown of the most frequent culprits:
- Clogged Condensate Drain Line: This is the most common cause. Algae, mold, dust, and debris can accumulate inside the drain line, creating a blockage that prevents water from escaping.
- Cracked or Rusted Drain Pan: Over time, the drain pan can corrode or crack, leading to leaks.
- Dirty Air Filter: A clogged air filter restricts airflow over the evaporator coil, causing it to get too cold and potentially freeze. As it thaws, the excess water can overwhelm the drain system.
- Low Refrigerant: Similar to a dirty filter, low refrigerant can cause the evaporator coil to freeze.
- Improper Installation: A drain line that isn't properly sloped can lead to standing water and eventual backups.
- Condensate Pump Failure: Some systems, especially those in basements or attics, use a condensate pump to move water uphill to a drain. If the pump fails, water will overflow.
Troubleshooting Steps: Find the Source of the Leak
Now, let's get to the detective work. Follow these steps to pinpoint the cause of the leak:
Step 1: Safety First!
Before you start, turn off the power to your HVAC unit at the breaker box. This is crucial for your safety. Also, mop up any standing water to prevent slips and further damage.
Step 2: Initial Inspection (No Tools Required)
Start with a visual inspection. Often, the problem is immediately obvious.
- Check the area around the indoor unit: Look for the source of the water. Is it dripping from the unit itself, from a pipe, or from the drain pan?
- Inspect the air filter: Remove the air filter and hold it up to the light. If you can't see light through it, it's likely clogged and needs to be replaced. Note the filter size for replacement.
- Examine the drain pan: Look for cracks, rust, or overflowing water. A flashlight can be helpful. Is the pan sitting level?
- Trace the drain line: Follow the drain line from the unit to its termination point (usually outside or into a drain). Look for any obvious kinks, disconnections, or sagging sections.
Step 3: Check the Condensate Drain Line (Basic Equipment Needed)
If the initial inspection doesn't reveal the problem, the most likely culprit is a clogged condensate drain line. You'll need a few basic tools:
- Wet/Dry Vacuum (Shop Vac): This is essential for clearing the drain line.
- Plumbing Snake (Optional): For tougher clogs.
- Bucket: To catch any water that comes out.
- Gloves: To protect your hands.
Here's how to clear the drain line:
- Locate the drain line access point: This is usually a T-shaped vent near the indoor unit, or the end of the drain line where it exits the house. Sometimes it's capped, requiring you to unscrew the cap. Place a bucket underneath to catch any water.
- Use the wet/dry vacuum: Attach the vacuum hose to the drain line access point. Create a tight seal, using duct tape if necessary. Turn on the vacuum for several minutes. This should suck out any blockage.
- Try a plumbing snake (if needed): If the vacuum doesn't work, gently insert a plumbing snake into the drain line. Rotate the snake as you push it in to break up any clogs. Be careful not to force it, as you could damage the drain line. After snaking, use the vacuum again to remove any debris.
- Flush the drain line: Pour a cup of vinegar (a natural disinfectant) into the drain line access point. This helps prevent future clogs. You can also use a specialized condensate pan treatment.
- Monitor for leaks: After clearing the drain line, turn the HVAC unit back on (after replacing the filter!) and monitor for any leaks.
Step 4: Inspect the Condensate Pump (If Applicable)
If your system has a condensate pump, check the following:
- Is the pump running? Listen for a humming sound when the HVAC unit is operating. If it's not running, check the power supply.
- Is the pump clogged? Some pumps have a small reservoir that can become clogged with debris. Clean it out as needed.
- Is the float switch working? The float switch activates the pump when the water level rises. Make sure it moves freely.
- Is the discharge line blocked? Check the line that carries water away from the pump for any kinks or blockages.
Step 5: Thawing a Frozen Evaporator Coil
If you suspect a frozen evaporator coil (often indicated by a lack of airflow), try the following:
- Turn off the HVAC system: This will allow the coil to thaw.
- Replace the air filter: A dirty filter is a common cause of frozen coils.
- Turn on the fan only: This will help circulate warm air and speed up the thawing process.
- Monitor for water: As the coil thaws, a large amount of water will be released. Make sure your drain pan can handle it.
- Give it time: It may take several hours for the coil to completely thaw.
When to Call a Professional
While many HVAC leak issues can be resolved with DIY troubleshooting, some problems require the expertise of a qualified HVAC technician. Here are some situations where you should call a pro:
- Low Refrigerant: Refrigerant handling requires specialized equipment and certifications. Attempting to add refrigerant yourself is illegal and can be dangerous.
- Cracked or Rusted Drain Pan: Replacing a drain pan can be a complex job, especially if it's difficult to access. A professional can ensure proper installation and prevent future leaks.
- Electrical Issues: If you suspect an electrical problem with your HVAC unit, do not attempt to repair it yourself. Electrical work is dangerous and should only be performed by a licensed electrician or HVAC technician.
- Persistent Leaks: If you've tried all the troubleshooting steps and the leak persists, there may be a more serious underlying problem that requires professional diagnosis.
- You're Uncomfortable: If you're not comfortable working on your HVAC unit, it's always best to call a professional. It's better to be safe than sorry.
- Mold Growth: Significant mold growth around the unit indicates a long-term moisture problem. Professionals can address the leak and safely remediate the mold.
Preventive Maintenance: Keep Leaks at Bay
The best way to avoid HVAC leaks is to perform regular preventive maintenance. Here are some tips:
- Change your air filter regularly: This is the single most important thing you can do to keep your HVAC system running smoothly. Check it monthly and replace it as needed (usually every 1-3 months).
- Schedule annual HVAC maintenance: A professional can inspect your system, clean the coils, check the refrigerant levels, and identify any potential problems before they become major issues.
- Periodically flush the condensate drain line: Pour a cup of vinegar into the drain line access point every few months to prevent clogs.
- Keep the area around your outdoor unit clear: Remove any debris, such as leaves, branches, or weeds, that could block airflow.
Conclusion
Finding water around your HVAC unit can be alarming, but by following these troubleshooting steps, you can often identify and fix the problem yourself. Remember to prioritize safety and don't hesitate to call a professional when needed. With a little knowledge and preventative maintenance, you can keep your HVAC system running smoothly and avoid costly repairs.