Window Ac Unit Compressor Not Turning On
Window AC Unit Compressor Not Turning On: A Troubleshooting Guide for Homeowners
A window AC unit blowing warm air is frustrating, especially on a hot day. One common culprit is a compressor that isn't starting. The compressor is the heart of your AC, responsible for circulating refrigerant and enabling cooling. If it's not working, your AC is just an expensive fan. This guide will walk you through troubleshooting steps you can take, when you might need a professional, and what it might cost.
Safety First!
Before you begin any troubleshooting, always disconnect the AC unit from the power outlet. Electricity and water don't mix, and you want to avoid any risk of electric shock. It's also a good idea to wear safety glasses to protect your eyes.
Tools and Materials You Might Need
- Screwdrivers (Phillips head and flat head)
- Multimeter
- Voltage tester
- Pliers
- Wire strippers
- Replacement capacitor (if needed)
- Cleaning brush or vacuum with hose attachment
- Work gloves
Step-by-Step Troubleshooting
1. Check the Power Supply
Start with the simplest things first. Confirm that the AC unit is properly plugged into a working outlet. Use the voltage tester to confirm that the outlet is providing power. If the outlet isn't working, check the circuit breaker in your electrical panel and reset it if necessary. Also, ensure the power cord isn't damaged.
2. Examine the Thermostat Setting
Ensure the thermostat is set to "Cool" and the temperature is set low enough that the AC unit should be actively cooling. A common mistake is accidentally leaving the AC on "Fan Only" mode.
3. Inspect the Air Filter
A dirty air filter restricts airflow, which can cause the AC unit to overheat and potentially prevent the compressor from starting. Remove the filter and inspect it. If it's visibly dirty, clean or replace it. It's generally a good idea to clean or replace your AC filter every 1-3 months, depending on usage and air quality.
4. Clean the Condenser Coils
The condenser coils are located on the outside of the unit and dissipate heat. Over time, they can become clogged with dirt, dust, and debris, reducing efficiency and potentially causing the compressor to overheat. Disconnect the AC unit from power. Use a brush or vacuum with a hose attachment to gently clean the coils. Be careful not to bend or damage the fins.
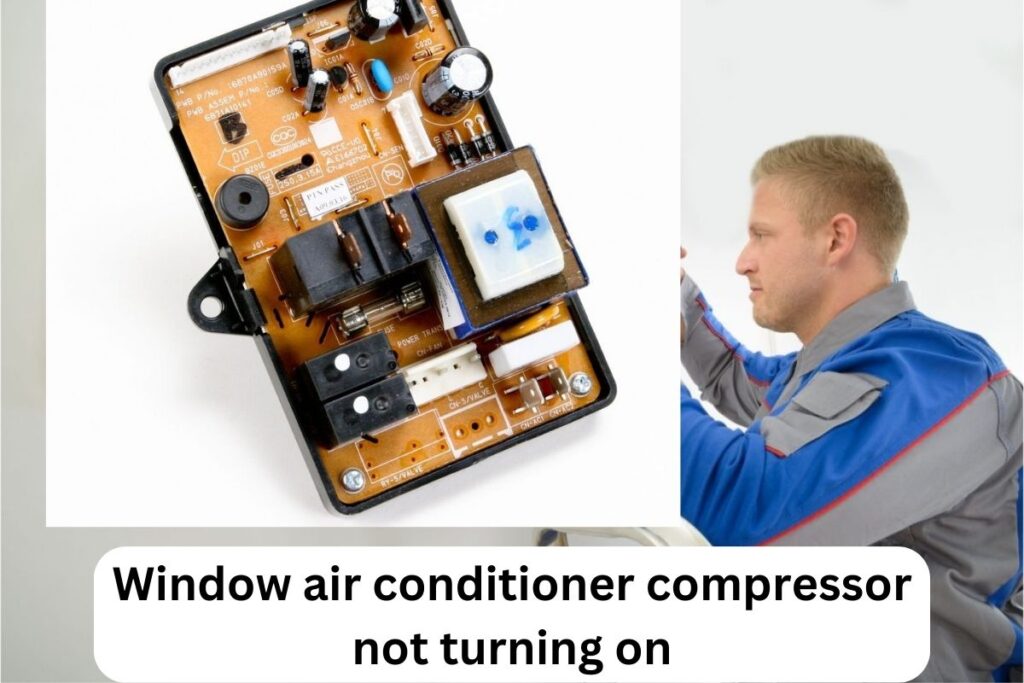
5. Check the Capacitor
The capacitor provides the initial surge of power needed to start the compressor. If the capacitor is weak or faulty, the compressor may not start. This is a common problem. Here's how to check it:
Important: Capacitors can store an electrical charge even after the unit is unplugged. Use extreme caution! Short the capacitor terminals with an insulated screwdriver (wear gloves and safety glasses!) to discharge any residual charge before handling it.
After safely discharging the capacitor:
- Locate the capacitor inside the AC unit's control panel.
- Visually inspect it for signs of bulging, leaking, or corrosion. If you see any of these signs, the capacitor is likely bad and needs to be replaced.
- Use a multimeter with a capacitance setting to test the capacitor's microfarad (µF) rating. The rating is usually printed on the capacitor itself. If the measured value is significantly lower than the rated value (e.g., more than 10% off), the capacitor is likely faulty.
If you need to replace the capacitor, make sure to get one with the exact same voltage and microfarad rating as the original. Always disconnect power before replacing. Carefully note the wiring configuration before removing the old capacitor and replicate it exactly with the new one.
6. Overload Protector
Many window AC units have an overload protector that shuts down the compressor if it gets too hot. This is a safety feature. Sometimes, the overload protector can trip and prevent the compressor from starting. After allowing the unit to cool down, the overload protector should reset itself. Check your unit's manual for instructions on how to locate and reset the overload protector (if applicable).
7. Check the Compressor Wiring
Inspect the wiring connections to the compressor. Look for loose wires, corroded terminals, or signs of damage. If you find any issues, carefully re-secure the connections or replace the damaged wires. Remember to disconnect the power before working on any electrical components.
8. Compressor Motor
If all the above checks out, the compressor motor itself might be faulty. This is a more serious issue and usually requires professional diagnosis and repair. Testing the compressor motor windings with a multimeter requires advanced electrical knowledge and should only be done by a qualified technician.
When to Call a Professional
While some of the troubleshooting steps above can be handled by homeowners, there are situations where it's best to call a qualified HVAC technician:
- If you are not comfortable working with electricity.
- If you suspect the compressor motor itself is faulty.
- If you are unsure how to properly test or replace the capacitor.
- If you suspect a refrigerant leak. Handling refrigerant requires specialized equipment and training.
- If you have exhausted all the DIY troubleshooting steps and the compressor still isn't working.
Cost Estimates
The cost to repair a window AC unit compressor can vary depending on the problem and your location. Here's a general idea of what you might expect to pay:
- Replacing a Capacitor: $50-$150 (parts and labor)
- Replacing the Compressor: This is often not economically viable for window AC units. The cost can easily exceed the price of a new unit. Expect to pay $200-$500+ if you choose to pursue this.
- Diagnostic Fee: $75-$150 (for a technician to diagnose the problem)
Keep in mind these are just estimates. Get quotes from multiple HVAC contractors before making a decision.
Preventative Maintenance Tips
To help prevent compressor problems and extend the life of your window AC unit, follow these preventative maintenance tips:
- Clean or replace the air filter regularly (every 1-3 months).
- Clean the condenser coils at least once a year.
- Keep the area around the AC unit clear of obstructions.
- Consider purchasing a window AC cover to protect the unit during the off-season.
Common Reasons for Compressor Failure
- Dirty Air Filter: Restricted airflow leads to overheating.
- Dirty Condenser Coils: Reduced heat dissipation causes overheating.
- Faulty Capacitor: Insufficient starting power.
- Refrigerant Leak: Low refrigerant levels strain the compressor.
- Overheating: Repeated overheating can damage the compressor motor.
- Age: Compressors have a limited lifespan and will eventually fail.
By following these troubleshooting steps and preventative maintenance tips, you can keep your window AC unit running efficiently and avoid costly repairs. Remember, safety is paramount. When in doubt, always consult with a qualified HVAC technician.