Wiring Diagram For Intertherm Electric Furnace

Nothing's more frustrating than your Intertherm electric furnace blowing cold air on a chilly evening. Or even worse, nothing at all! A non-functional furnace can leave you shivering and wondering where to start. While some issues demand a professional HVAC technician, many problems can be diagnosed and sometimes even resolved with a little know-how and a systematic approach. This guide will walk you through troubleshooting your Intertherm electric furnace, focusing specifically on using the wiring diagram to identify and address common problems.
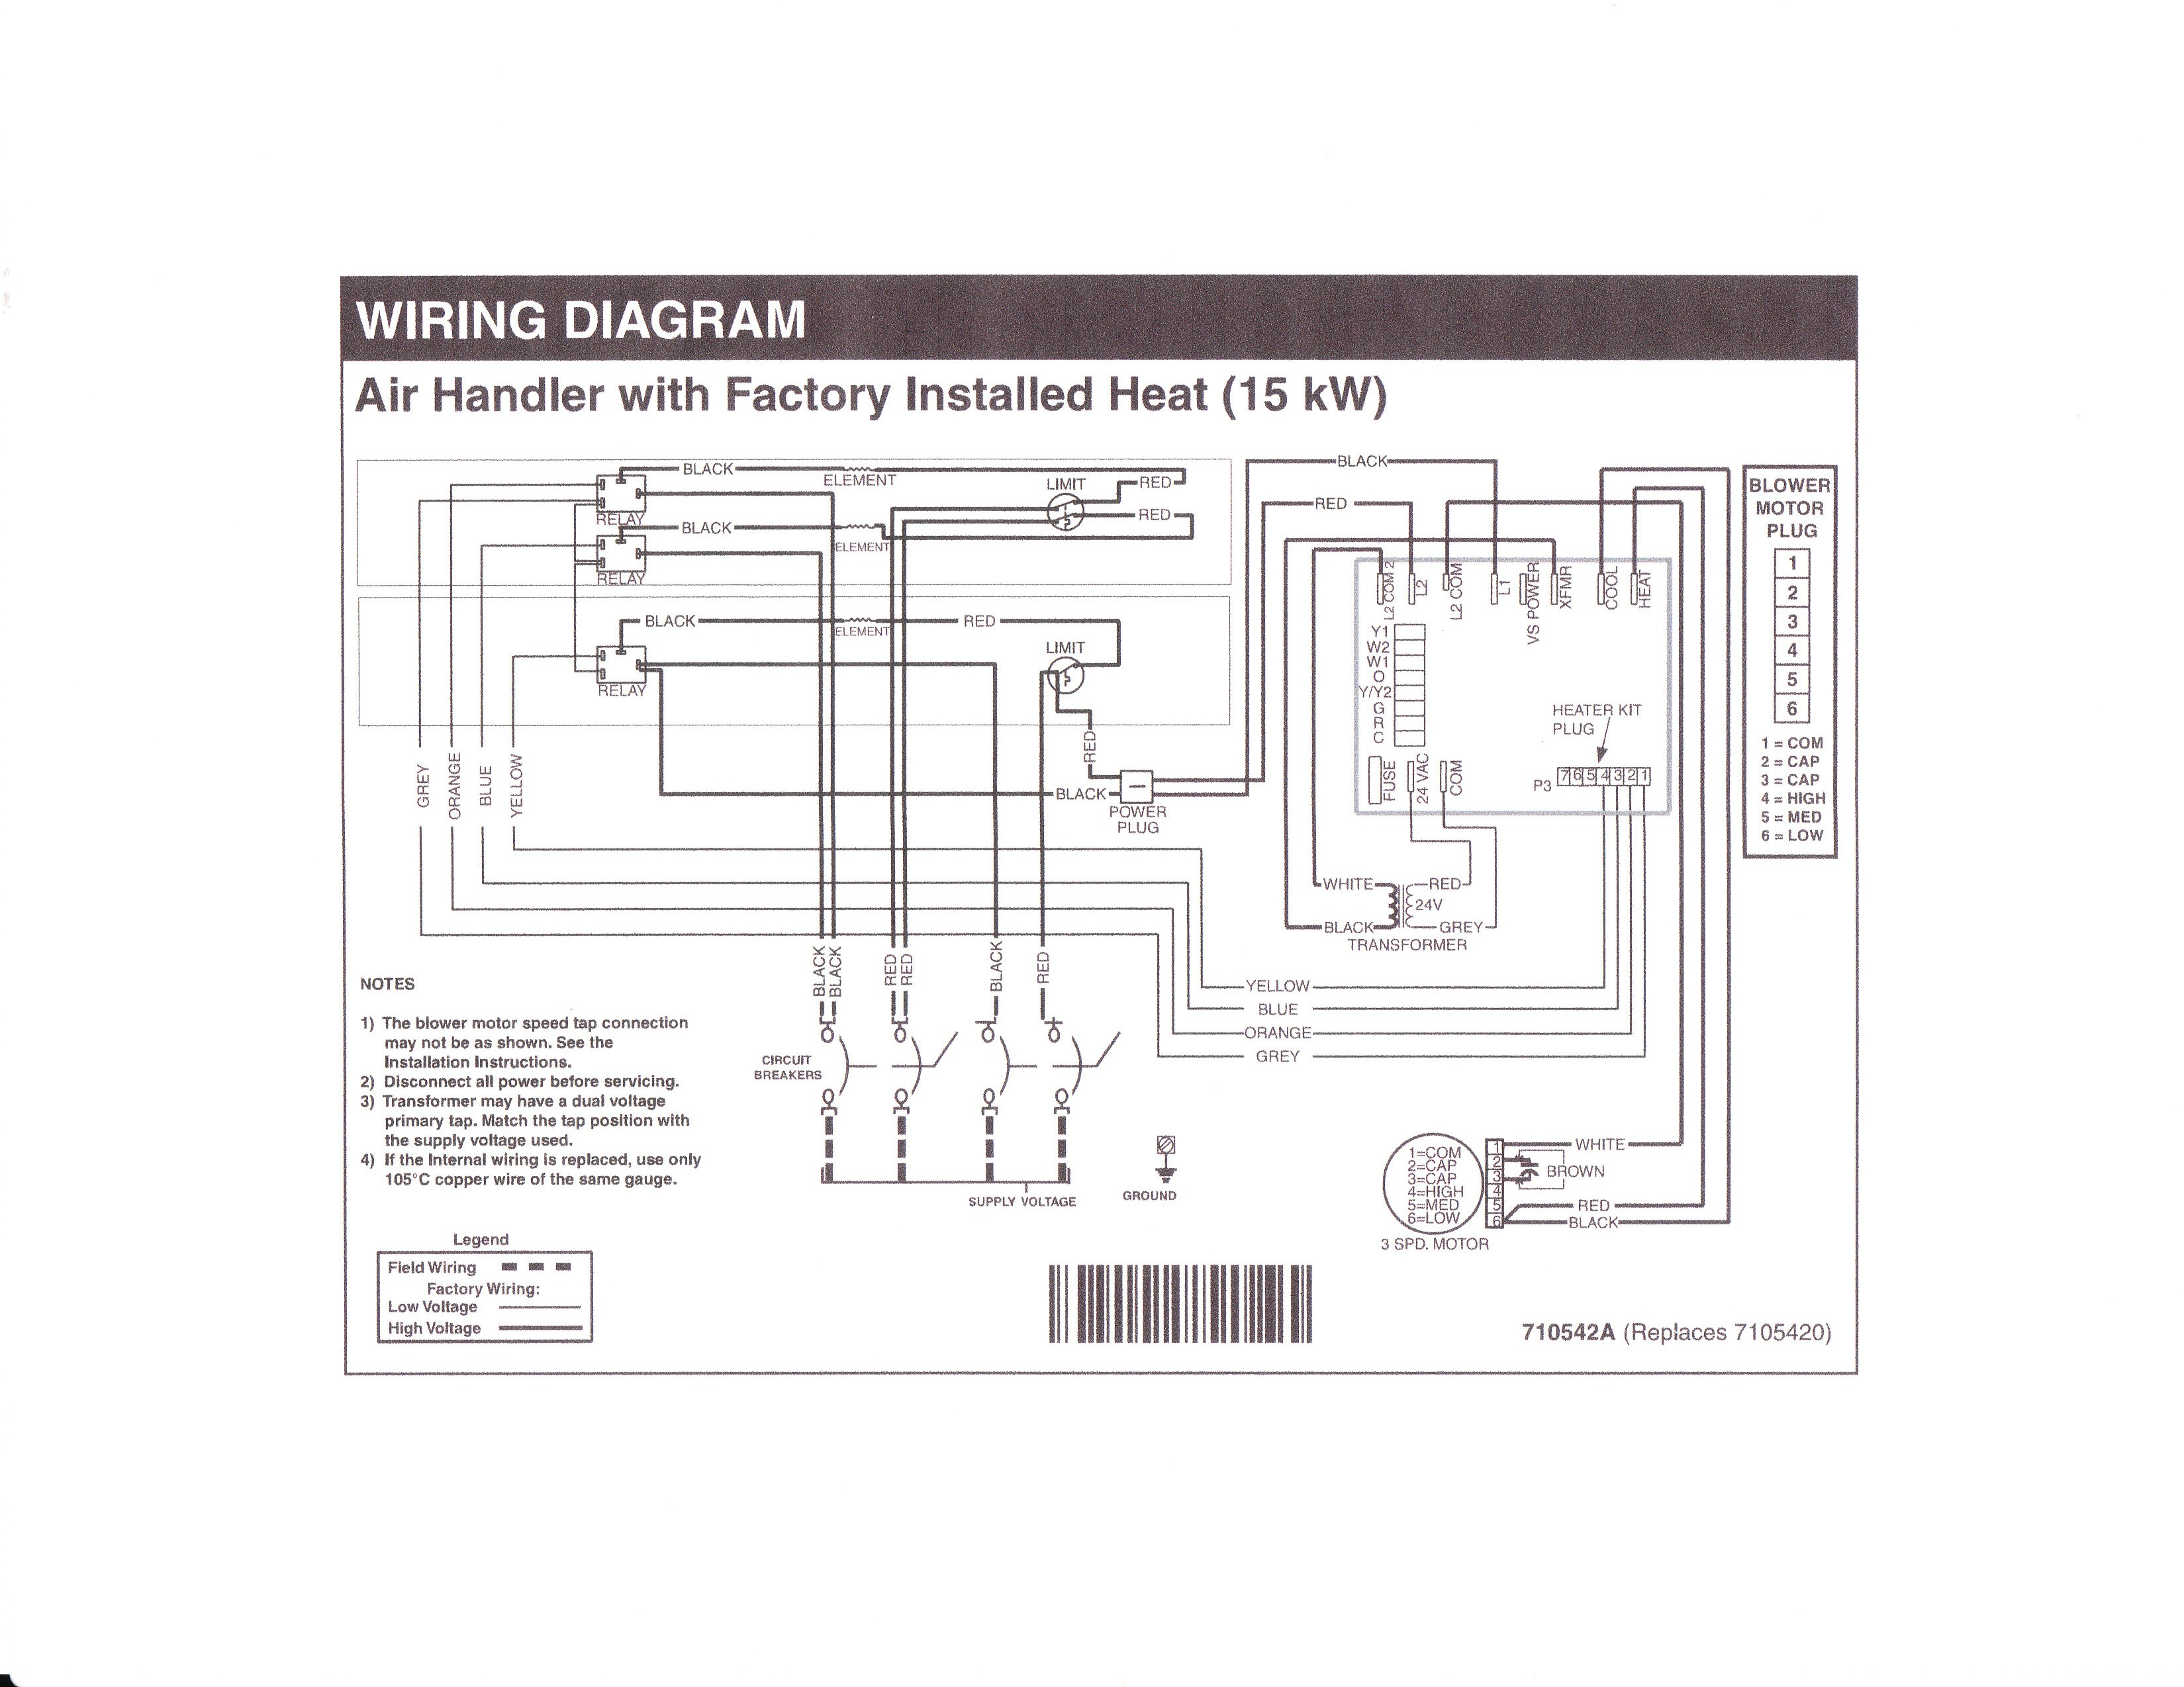
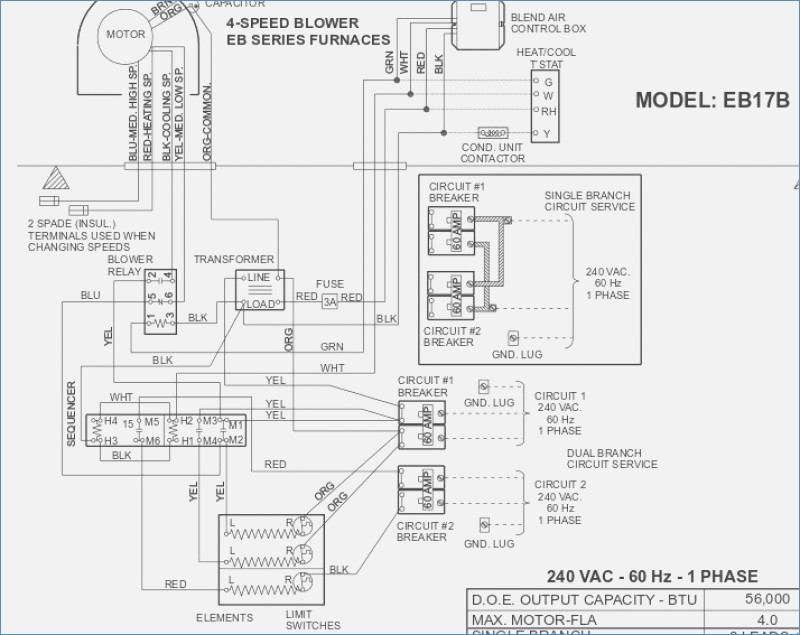
Understanding Your Intertherm Electric Furnace Wiring Diagram
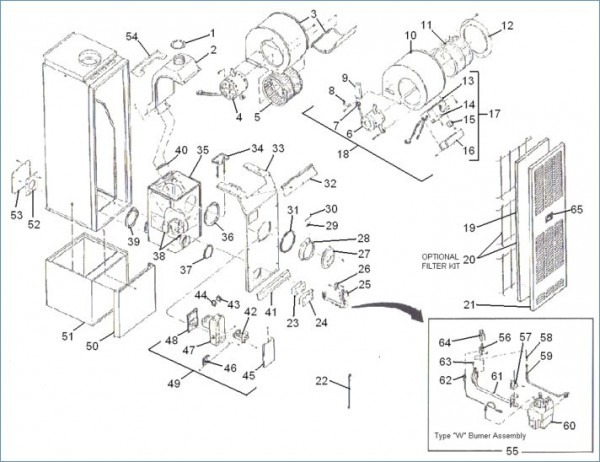
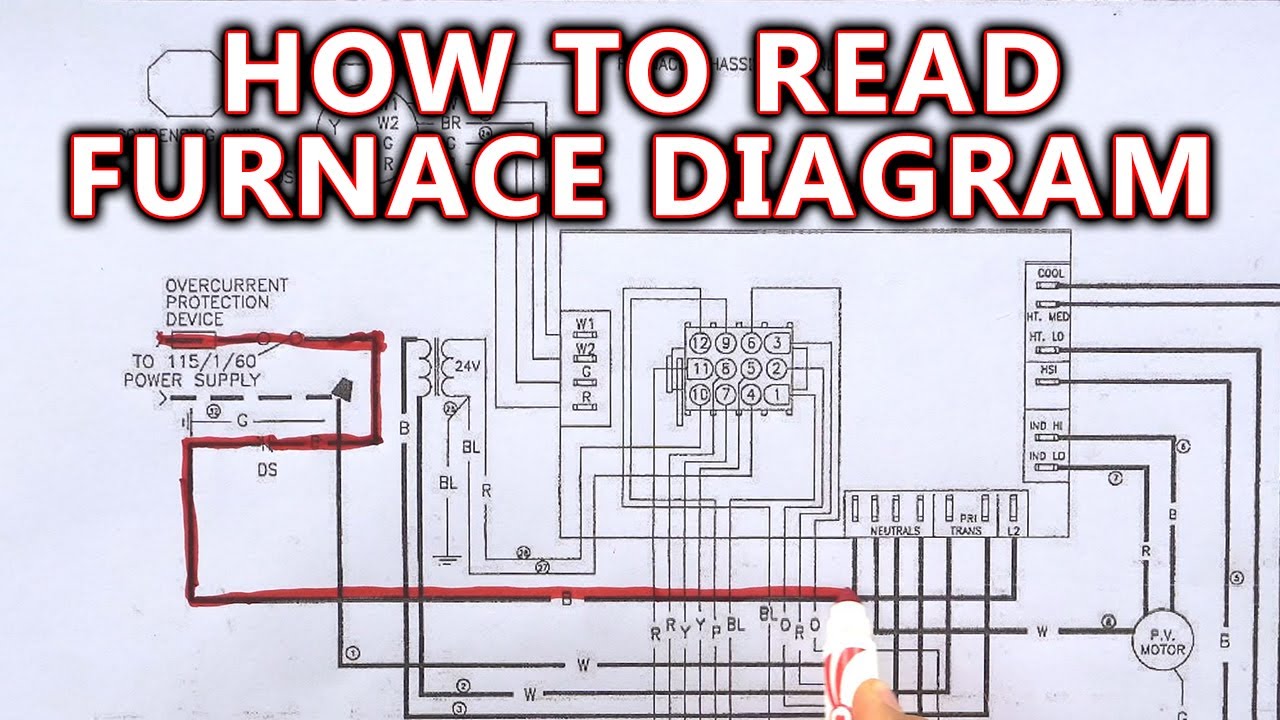
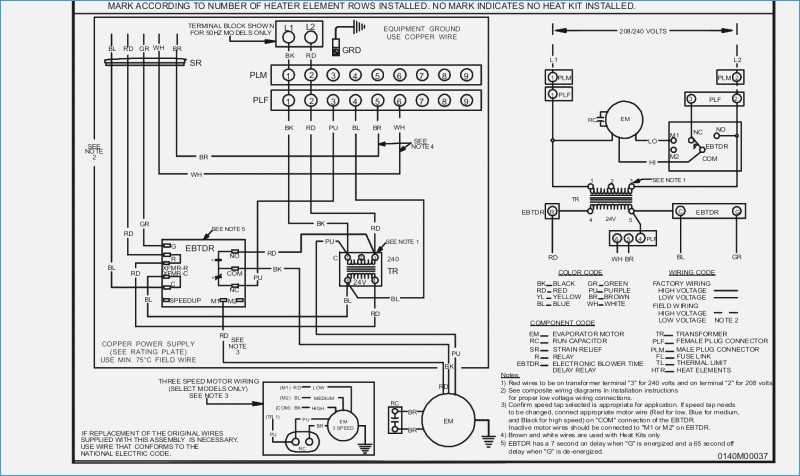
The wiring diagram is essentially the roadmap of your furnace's electrical system. It illustrates how all the components – thermostats, blower motor, heating elements, safety switches, and control board – are connected. Finding this diagram is the first step. Look for it usually inside the furnace control panel door or on the inside wall of the furnace. It might be a folded paper diagram or a sticker. Having this diagram makes troubleshooting significantly easier and safer.
Essential Safety First
Before you begin any troubleshooting, always turn off the power to your furnace at the circuit breaker. Electric furnaces use high voltage, and even seemingly minor shocks can be dangerous or fatal. Double-check that the power is off by testing with a non-contact voltage tester. Consider this step the most important thing you can do when beginning your project.
Common Problem: Furnace Not Turning On
Let's start with the most common issue: your furnace refuses to turn on at all. Follow these steps to diagnose the problem:
Step 1: Initial Checks (No Tools Required)
Before diving into the wiring, perform some simple checks:
- Thermostat Setting: Ensure your thermostat is set to "Heat" and the temperature is set a few degrees above the current room temperature. Sounds basic, but it’s often the culprit!
- Circuit Breaker: Double-check the circuit breaker dedicated to the furnace hasn't tripped. Reset it by flipping it fully off and then back on.
- Emergency Shut-Off Switch: Many furnaces have an emergency shut-off switch (often red) located near the unit. Make sure it's in the "On" position.
- Air Filter: A clogged air filter can restrict airflow and cause the furnace to overheat and shut down. Replace a dirty filter with a new one. This is preventative maintenance and should be done regularly.
If these simple checks don’t solve the problem, it’s time to move on to more detailed diagnostics.
Step 2: Checking the Power Supply (Requires Multimeter)
Using your wiring diagram, locate the main power supply wires entering the furnace control panel. These are typically labeled L1 and L2 (or Hot and Neutral). Using a multimeter set to AC voltage, carefully test the voltage between these wires. You should read approximately 240 volts (in a standard 240V system) or 120 volts (in a 120V system). If you don’t get the correct voltage, the problem lies upstream, most likely in the circuit breaker or the wiring leading to the furnace. Call a qualified electrician to address this.
Safety Note: If you are not comfortable working with electricity and using a multimeter, it is best to call a qualified HVAC technician.
Step 3: Inspecting the Control Transformer (Requires Multimeter)
The control transformer steps down the high voltage (240V or 120V) to a lower voltage (usually 24V) used to power the thermostat and control circuits. Locate the transformer on your wiring diagram and identify its input and output terminals.
- Input Voltage: With the furnace power on (after verifying the main power supply), use your multimeter to check the voltage on the transformer's input terminals. You should read the same voltage as your main power supply (240V or 120V).
- Output Voltage: Carefully check the voltage on the transformer's output terminals. You should read approximately 24 volts AC. If you don't get the correct output voltage, the transformer is likely faulty and needs to be replaced. This is a relatively straightforward repair that a homeowner comfortable with basic electrical work can perform. However, always disconnect the power before replacing the transformer and ensure the replacement transformer has the same voltage and VA (volt-ampere) rating.
Step 4: Thermostat Wiring and Connections
A loose or corroded wire at the thermostat or inside the furnace control panel can prevent the furnace from turning on. Using your wiring diagram, identify the thermostat wires (typically labeled R, W, G, Y, and C). Disconnect the power before doing any wiring work!
- Inspect Connections: Carefully examine the thermostat wiring connections at both the thermostat and inside the furnace control panel. Look for loose wires, corrosion, or damage.
- Tighten Connections: Ensure all wires are securely connected to their terminals. If you find corrosion, clean the terminals with a wire brush or electrical contact cleaner.
- Test for Continuity: If you suspect a broken wire, use a multimeter set to the continuity setting to test the wire. Disconnect the wire at both ends and touch the multimeter probes to each end of the wire. If the multimeter shows continuity (usually a beep or a reading close to zero ohms), the wire is good. If it shows no continuity (an open circuit), the wire is broken and needs to be replaced.
Step 5: Checking Safety Switches
Intertherm furnaces have several safety switches designed to shut down the furnace if a dangerous condition is detected. These switches include:
- Limit Switch: This switch prevents the furnace from overheating. It's typically located near the heating elements.
- Door Switch: This switch ensures the furnace shuts off when the access door is open.
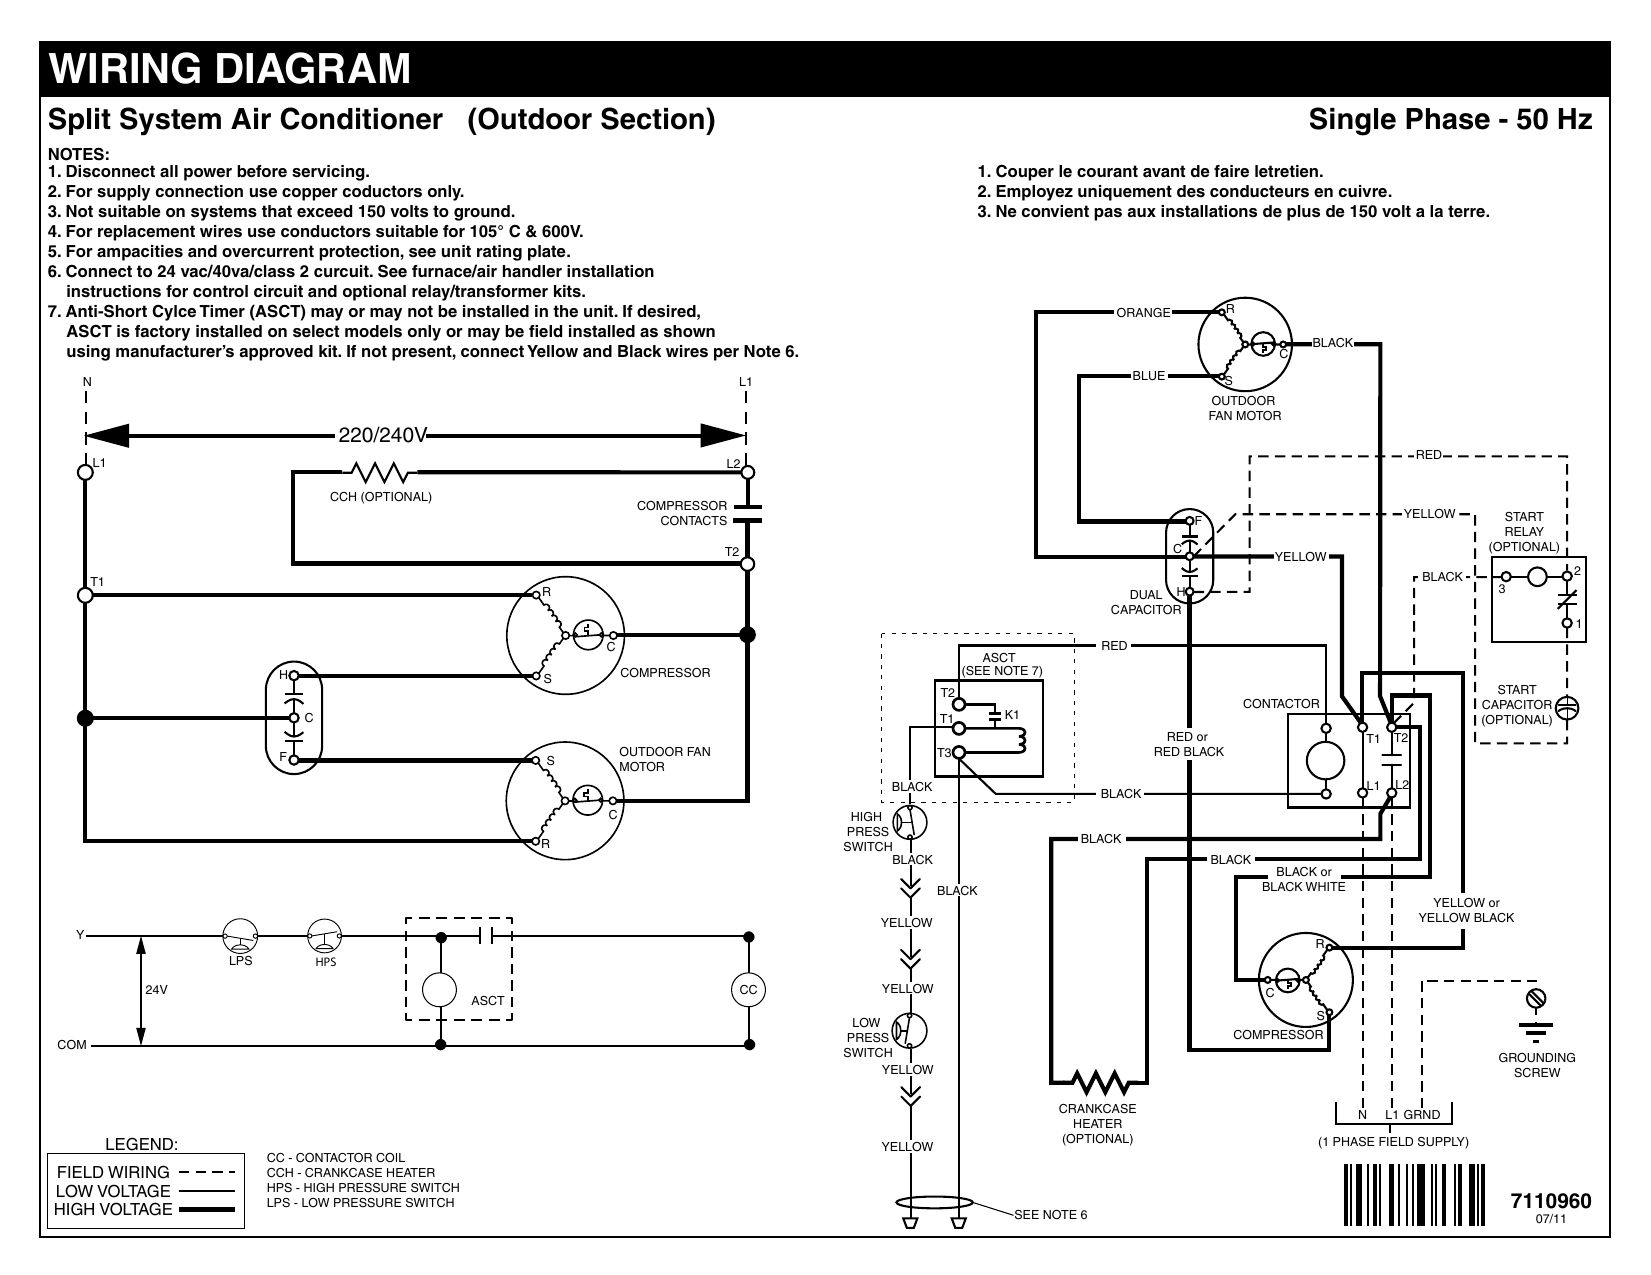
- Rollout Switch: This switch detects flame rollout (when the flame extends beyond the burner area). *This is less common on electric furnaces, but possible.*
Using your wiring diagram, locate these switches. With the power off, use a multimeter set to the continuity setting to test each switch. The switch should be closed (showing continuity) when the furnace is in a normal operating state. If a switch is open, it indicates a problem. For example, an open limit switch suggests the furnace is overheating, possibly due to a blocked air filter or a faulty blower motor. *If the limit switch has tripped, investigate the cause of the overheating before resetting it.* Some limit switches can be manually reset by pressing a small button on the switch. However, repeatedly tripping limit switches indicate a more serious underlying problem that requires professional attention.
Common Problem: Furnace Blowing Cold Air
If your furnace is turning on but blowing cold air, the issue is likely related to the heating elements or the blower motor.
Step 1: Check the Heating Elements (Requires Multimeter)
Electric furnaces use heating elements to generate heat. Over time, these elements can burn out.
- Locate Heating Elements: Using your wiring diagram, identify the heating elements and their associated wiring.
- Test for Continuity: With the power off, disconnect the wires to each heating element and use a multimeter set to the ohms setting to test for continuity. A good heating element will show some resistance (typically a few ohms). An open circuit (infinite resistance) indicates a burned-out element.
- Replace Faulty Elements: If you find a burned-out heating element, replace it with a new one of the same voltage and wattage rating. Always disconnect the power before replacing any electrical components.
Step 2: Inspect the Blower Motor (Requires Visual Inspection and Potentially a Multimeter)
The blower motor circulates the heated air throughout your home. A faulty blower motor can prevent the furnace from heating properly.
- Visual Inspection: Visually inspect the blower motor for any signs of damage, such as a burned-out winding or loose wires.
- Check the Blower Motor Capacitor: The capacitor helps start the blower motor. A faulty capacitor can prevent the motor from running. *This often presents as a humming sound.* With the power off, visually inspect the capacitor for any signs of bulging or leaking. *Replacing a capacitor can be dangerous due to stored electrical charge, so proceed with extreme caution or call a professional.*
- Test the Blower Motor Windings: With the power off, use a multimeter set to the ohms setting to test the blower motor windings. Consult your wiring diagram for the correct resistance values. An open circuit or a very low resistance reading indicates a faulty motor.
When to Call a Professional
While many furnace problems can be diagnosed and repaired by homeowners with basic electrical skills, some issues are best left to the professionals. Call a qualified HVAC technician if you encounter any of the following:
- You are uncomfortable working with electricity.
- You suspect a gas leak (even though it's an electric furnace, gas lines might run nearby).
- You cannot find or understand the wiring diagram.
- You suspect a problem with the control board.
- You have replaced multiple components and the furnace still isn't working.
- You are dealing with high voltage wiring and are unsure of the proper procedures.
- You see signs of arcing or burning inside the furnace.
Troubleshooting an Intertherm electric furnace can seem daunting, but with a systematic approach and a good understanding of the wiring diagram, you can often diagnose and resolve common problems yourself. Remember to always prioritize safety and don't hesitate to call a professional when needed.