York Air Handler Unit
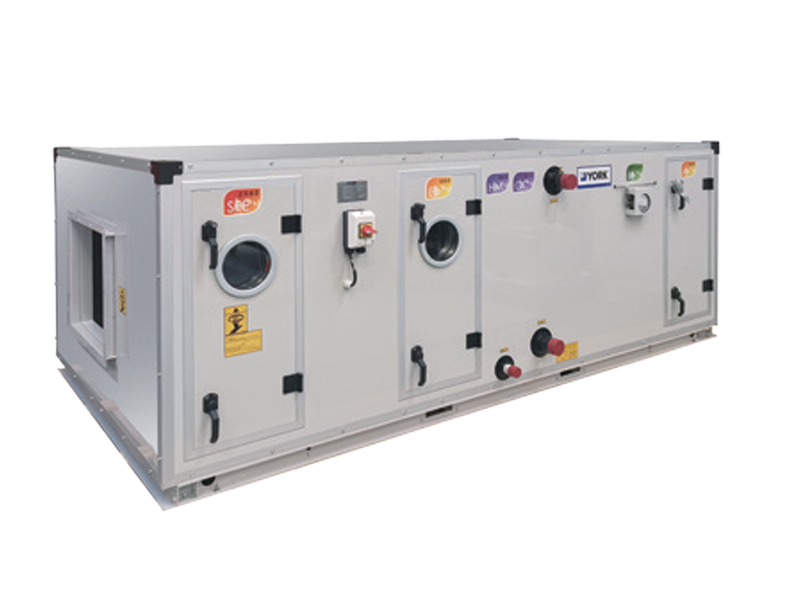
York air handlers are a popular choice for homeowners looking for reliable and efficient climate control. These units work by circulating air throughout your home, distributing cooled or heated air from your central AC unit or heat pump. Understanding how your York air handler functions and common issues that may arise can empower you to troubleshoot simple problems and make informed decisions about maintenance and repairs.
Understanding Your York Air Handler
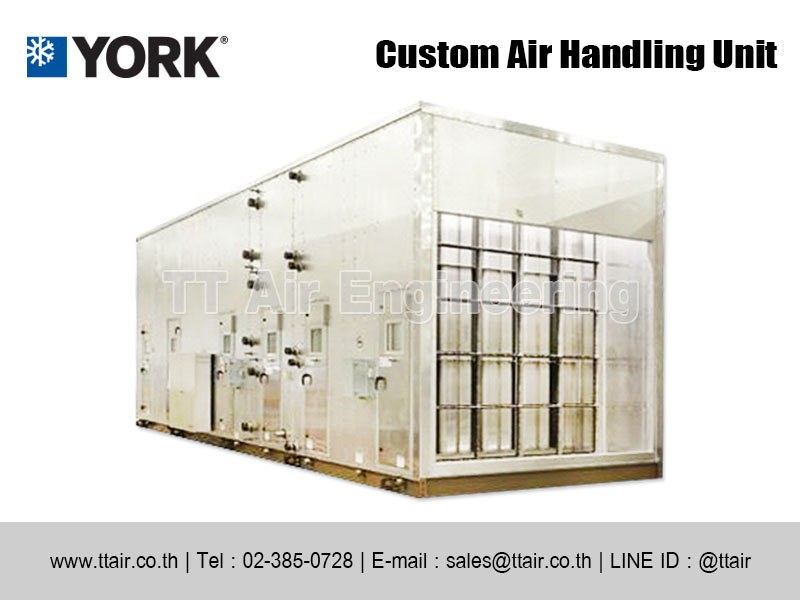
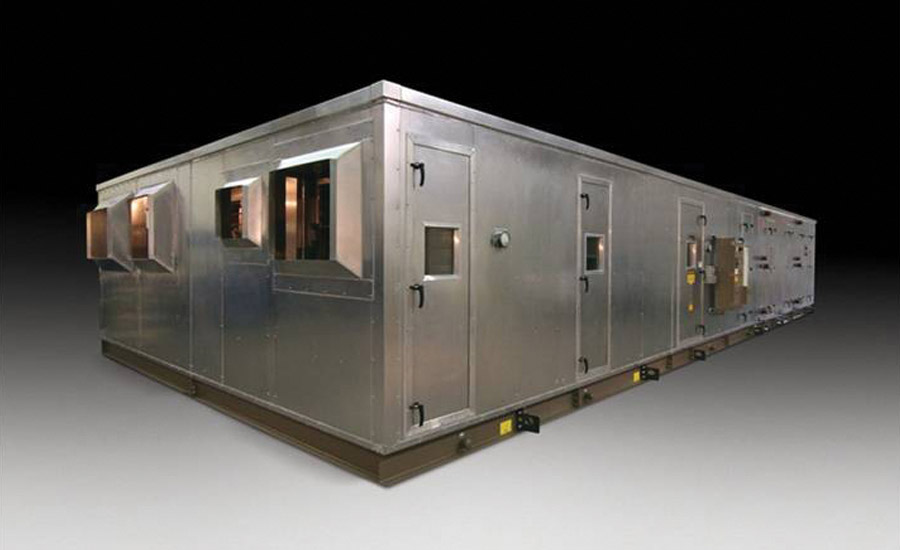
At its core, an air handler is a metal box containing a blower motor, a coil (for heating or cooling), and air filters. York offers a variety of air handler models, each with different features and capacities. Before attempting any repairs, familiarize yourself with your specific model. You can usually find the model number on a sticker located inside the unit, often on the blower housing.
Essential Components:
- Blower Motor: This is the heart of the air handler, responsible for pushing air through the ductwork. Motors can be single-speed, multi-speed, or variable-speed. Variable-speed motors are the most energy-efficient, providing consistent airflow and temperature.
- Cooling/Heating Coil: The coil contains refrigerant (for cooling) or hot water (for heating). Air passing over the coil is either cooled or heated.
- Air Filter: This is a crucial component for maintaining air quality and protecting the air handler from dust and debris. Regular filter replacement is vital.
- Control Board: The brain of the air handler, managing the operation of the blower motor, coil, and other components.
- Drain Pan & Line: This collects condensation from the cooling coil and drains it away. A clogged drain line can lead to water leaks and potential damage.
- Ductwork Connections: Connects the air handler to the supply and return ductwork.
Common York Air Handler Problems and Troubleshooting
Here are some of the most common problems you might encounter with your York air handler and steps you can take to troubleshoot them:
1. No Airflow or Weak Airflow
This is a common complaint, and often has a simple solution:
- Check the Air Filter: A clogged air filter restricts airflow. Replace it with a new filter of the correct size and MERV rating. Aim to change your filter every 1-3 months, or more frequently if you have pets or allergies.
- Check the Blower Motor: Listen for the blower motor running. If it's not running, check the circuit breaker for the air handler (usually labeled "Furnace" or "HVAC"). Reset the breaker if it's tripped. If the motor is humming but not starting, it might have a bad capacitor. Warning: Working with electrical components can be dangerous. If you are not comfortable, call a qualified HVAC technician.
- Check the Ductwork: Inspect visible ductwork for any obvious leaks or disconnections. Seal any leaks with duct tape (not regular tape).
- Thermostat Settings: Ensure the thermostat is set to "Cool" or "Heat" and the fan is set to "Auto" or "On" (depending on your preference).
2. Air Handler is Making Noise
Unusual noises can indicate various problems:
- Squealing: Often indicates a worn blower motor bearing. This usually requires professional repair or replacement of the blower motor.
- Rattling: Could be loose ductwork, debris inside the blower housing, or a loose component. Inspect the unit and tighten any loose screws or connections.
- Humming: Could be a sign of a failing capacitor or a problem with the blower motor windings. Call a professional to diagnose and repair.
- Clicking: Often related to the control board or a relay switching on and off repeatedly. This usually requires professional diagnosis.
3. Water Leaking from the Air Handler
Water leaks are a serious issue that can cause damage to your home.
- Clogged Drain Line: This is the most common cause. Locate the drain line (usually a PVC pipe) and try to clear it with a wet/dry vacuum or a stiff wire. You can also pour a cup of vinegar down the drain line to help dissolve any algae or debris.
- Frozen Coil: If the coil freezes, it will melt when the system is turned off, causing water to leak. Check for restricted airflow (dirty filter) or low refrigerant levels (requires professional repair).
- Cracked Drain Pan: Inspect the drain pan for cracks or damage. If found, the drain pan needs to be replaced.
4. Air Handler Not Turning On
If your air handler isn't turning on at all:
- Check the Circuit Breaker: Make sure the circuit breaker for the air handler hasn't tripped.
- Thermostat Issues: Ensure the thermostat is functioning correctly and set to the correct temperature. Try replacing the thermostat batteries.
- Safety Switch: Some air handlers have a safety switch that shuts off the unit if the access panel is removed. Make sure the panel is securely in place.
- Control Board Failure: A faulty control board can prevent the air handler from turning on. This requires professional diagnosis and replacement.
5. Icing on the Coil
Ice forming on the evaporator coil indicates a problem preventing proper heat absorption.
- Restricted Airflow: Dirty air filter.
- Low Refrigerant: Requires a certified technician to diagnose and repair the refrigerant leak. Do not attempt to handle refrigerant yourself. It is illegal and dangerous.
- Blower Motor Malfunction: If the blower isn't moving enough air across the coil, it can freeze.
DIY Repairs vs. Calling a Professional
Many simple problems, such as replacing the air filter or clearing a clogged drain line, can be handled safely and effectively by homeowners. However, more complex repairs involving electrical components, refrigerant, or control boards should be left to qualified HVAC technicians.
DIY-Friendly Tasks:
- Replacing the air filter
- Clearing a clogged drain line
- Inspecting ductwork for leaks
- Resetting the circuit breaker
- Replacing thermostat batteries
Tasks Requiring a Professional:
- Refrigerant leaks
- Blower motor replacement
- Control board repairs
- Coil replacement
- Electrical wiring issues
- Diagnosing complex system problems
York Air Handler Maintenance Tips
Regular maintenance can help prevent problems and extend the life of your York air handler:
- Change the Air Filter Regularly: As mentioned, aim for every 1-3 months.
- Clean the Unit: Periodically vacuum or brush away dust and debris from the exterior of the air handler.
- Inspect the Drain Line: Check for clogs and clear them as needed. Consider pouring a cup of vinegar down the drain line every few months to prevent buildup.
- Schedule Professional Maintenance: Have a qualified HVAC technician inspect and service your air handler annually. This includes checking refrigerant levels, cleaning the coils, and inspecting the blower motor.
Estimated Repair Costs
Repair costs can vary depending on the complexity of the problem and the cost of parts. Here are some general estimates:
- Air Filter Replacement: $10 - $30 (DIY)
- Drain Line Cleaning: $50 - $150 (DIY or professional)
- Blower Motor Capacitor Replacement: $100 - $300 (Professional)
- Blower Motor Replacement: $300 - $800 (Professional)
- Control Board Replacement: $300 - $1000 (Professional)
- Refrigerant Recharge (with leak repair): $200 - $800+ (Professional)
These are just estimates. Always get a quote from a qualified HVAC technician before proceeding with any repairs.
Safety First!
Before attempting any repairs, turn off the power to the air handler at the circuit breaker. Never work on electrical components while the power is on. If you are uncomfortable working with electricity or refrigerant, call a qualified HVAC technician. Safety should always be your top priority.
Conclusion
By understanding the basics of your York air handler and following these troubleshooting and maintenance tips, you can keep your system running smoothly and efficiently. Remember to prioritize safety and call a professional when needed. A well-maintained air handler will provide years of reliable comfort for your home.